
Creating your own custom tote bag with fabric paint is an exciting and creative way to personalize a fashion staple. Whether you want to make a unique accessory for yourself or design a special gift, this project combines fun, art, and practicality. In this detailed guide, we’ll take you through the process of designing and painting a tote bag from start to finish. From selecting materials to adding finishing touches, we’ll cover everything you need to know to create a tote bag that reflects your style and personality.
Why Customize Your Own Tote Bag?
Tote bags are versatile and functional, perfect for carrying books, groceries, or even your daily essentials. By customizing your tote bag, you can turn a simple accessory into a personal work of art. Here are a few reasons why you might want to try this project:
- Self-expression: A custom tote bag gives you the opportunity to express your personality, passions, or unique style.
- Sustainability: Creating your own tote bag from scratch can be a sustainable alternative to buying mass-produced items, especially when you use eco-friendly fabric paints and materials.
- Gift-giving: Handmade gifts are always appreciated. A custom tote bag can make an ideal present for a friend or loved one.
- DIY Fun: The process itself is enjoyable and rewarding. It’s a great way to spend a relaxing afternoon while also creating something functional.
Materials Needed for Customizing a Tote Bag
Before you get started, it’s important to gather all the materials you’ll need. Some of these items can be easily found at local craft stores, while others may be available online. Here’s a comprehensive list of the materials required for this project:
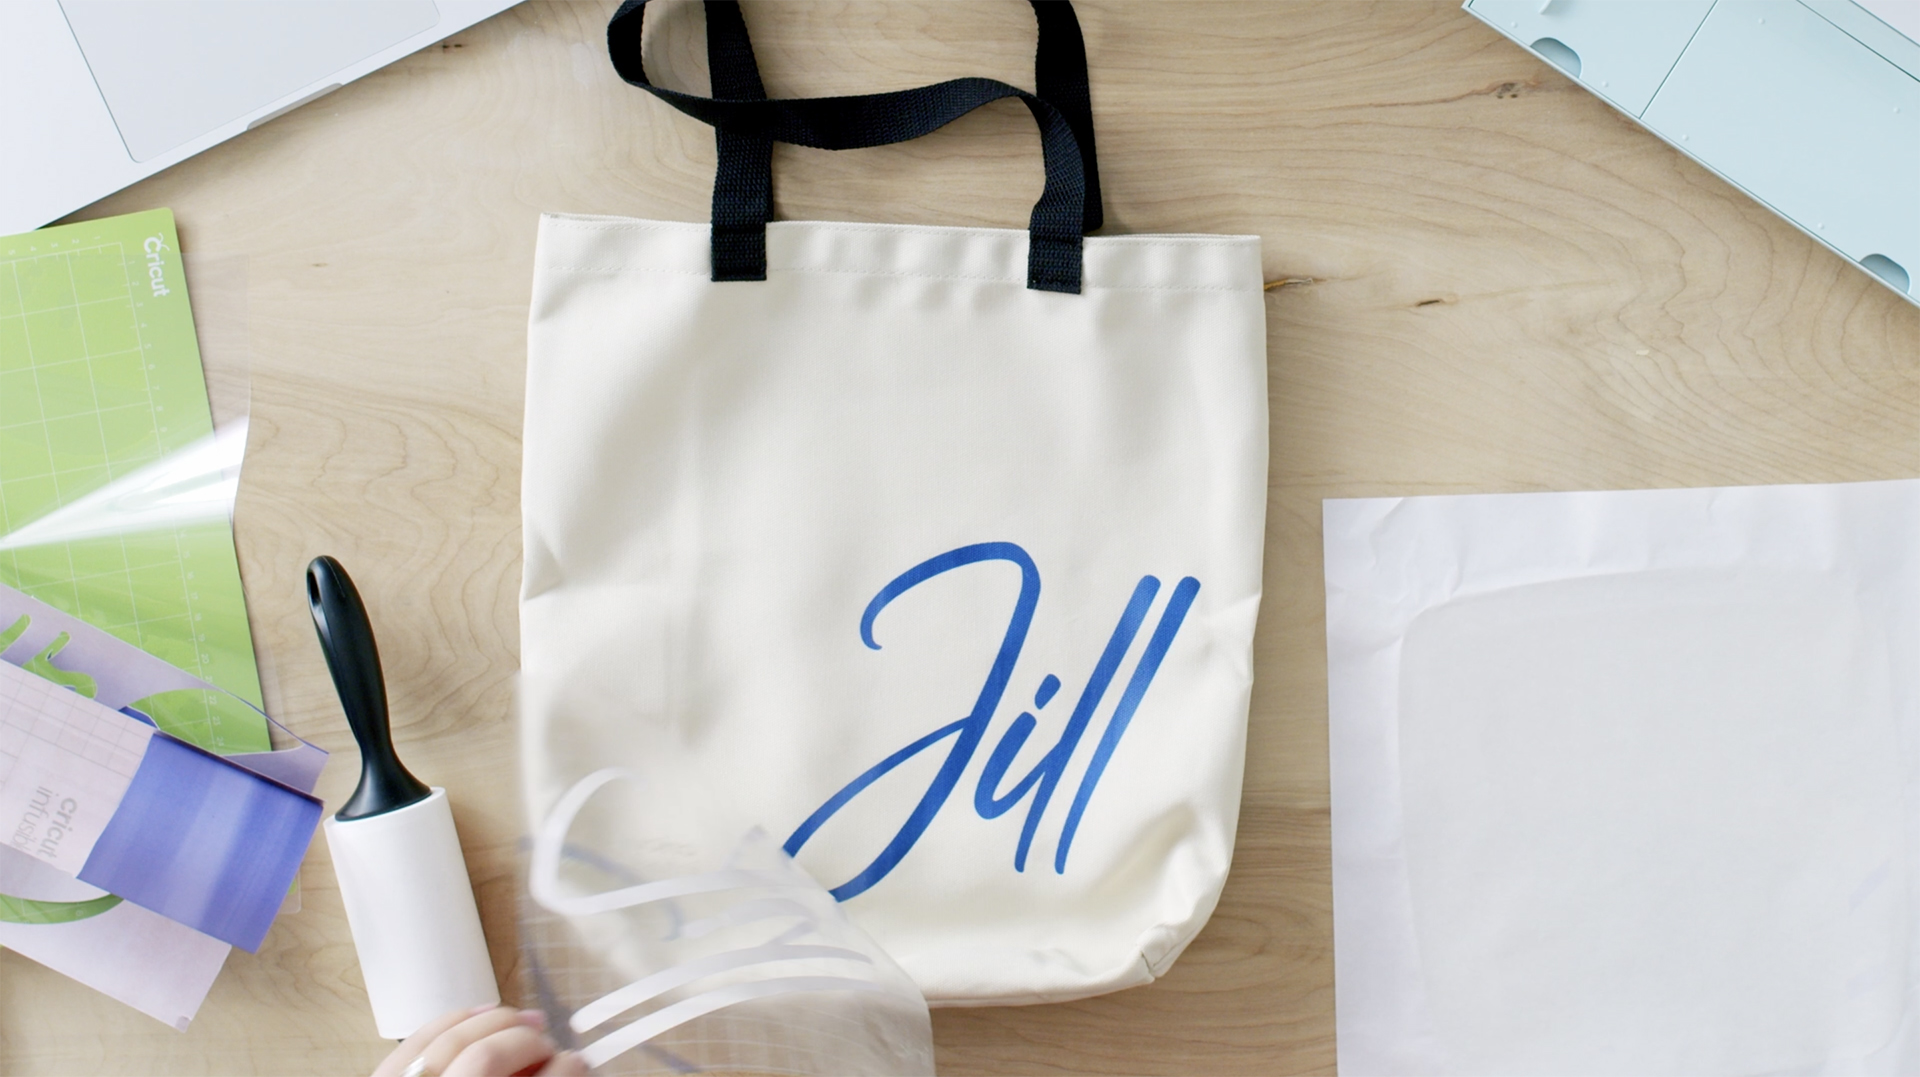
1. Tote Bag
The first thing you’ll need is, of course, a tote bag. Choose a blank, plain tote bag made of natural fabric like cotton, canvas, or linen. These materials are ideal for fabric painting because they absorb paint well and create a smooth, even finish. You can select any size, but medium to large totes work best for visible designs.
2. Fabric Paints
Fabric paints come in a variety of colors and finishes, such as matte, glossy, metallic, and even glitter. You’ll want to pick high-quality fabric paint that is designed for use on textiles. Some popular fabric paint brands include Tulip, FolkArt, and DecoArt. Choose colors that match your design concept, keeping in mind that fabric paints are usually opaque, but can sometimes be mixed to create custom shades.
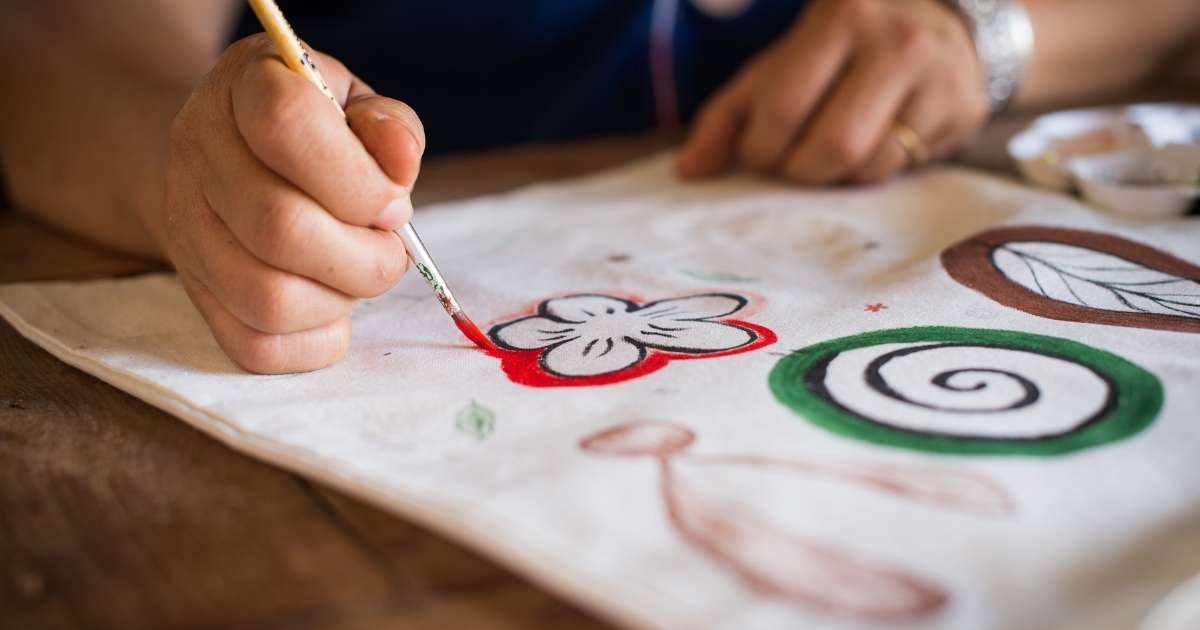
3. Brushes and Sponges
The right brushes and sponges can make all the difference in achieving a clean, professional-looking design. For intricate details, use fine-tipped paintbrushes. For larger areas or background work, use flat, wide brushes or foam sponges. Sponges are especially great for creating soft, blended effects.
4. Stencils or Templates (Optional)
If you’re not confident in your freehand painting skills, stencils or templates are a great tool for guiding your design. You can purchase pre-made stencils, or you can create your own by printing a design on paper, cutting it out, and using it as a template for painting. Stencils are particularly useful for geometric patterns, text, or logos.
5. Pallets and Mixing Tools
A small palette or plate will help you mix your fabric paints, especially if you plan to combine colors or experiment with gradients. You can use disposable plates or any other smooth surface for this purpose. If you want to achieve custom hues or a layered effect, having mixing tools like a palette knife or a brush for blending can be helpful.
6. Protective Surface
Since fabric paint can easily stain surfaces, make sure you protect the area where you’ll be working. Place a piece of cardboard or plastic inside the tote bag to prevent the paint from bleeding through to the other side. Additionally, lay down a plastic sheet or newspaper on your work surface to keep everything clean.
7. Iron and Ironing Board
To set the paint and ensure it’s permanent, you’ll need an iron. Once the paint has dried completely, you’ll press it with an iron on a low setting. This step helps the paint adhere to the fabric, making the design washable and durable.
8. Optional Embellishments
If you want to go the extra mile, you can also consider adding embellishments like rhinestones, fabric patches, or embroidery to your design. These extra touches can elevate your project and give it a more personalized feel.
Step-by-Step Guide to Creating Your Custom Tote Bag
Now that you have all the necessary materials, it’s time to dive into the fun part—creating your custom tote bag. Follow these steps to ensure your design turns out beautifully.
Step 1: Plan Your Design
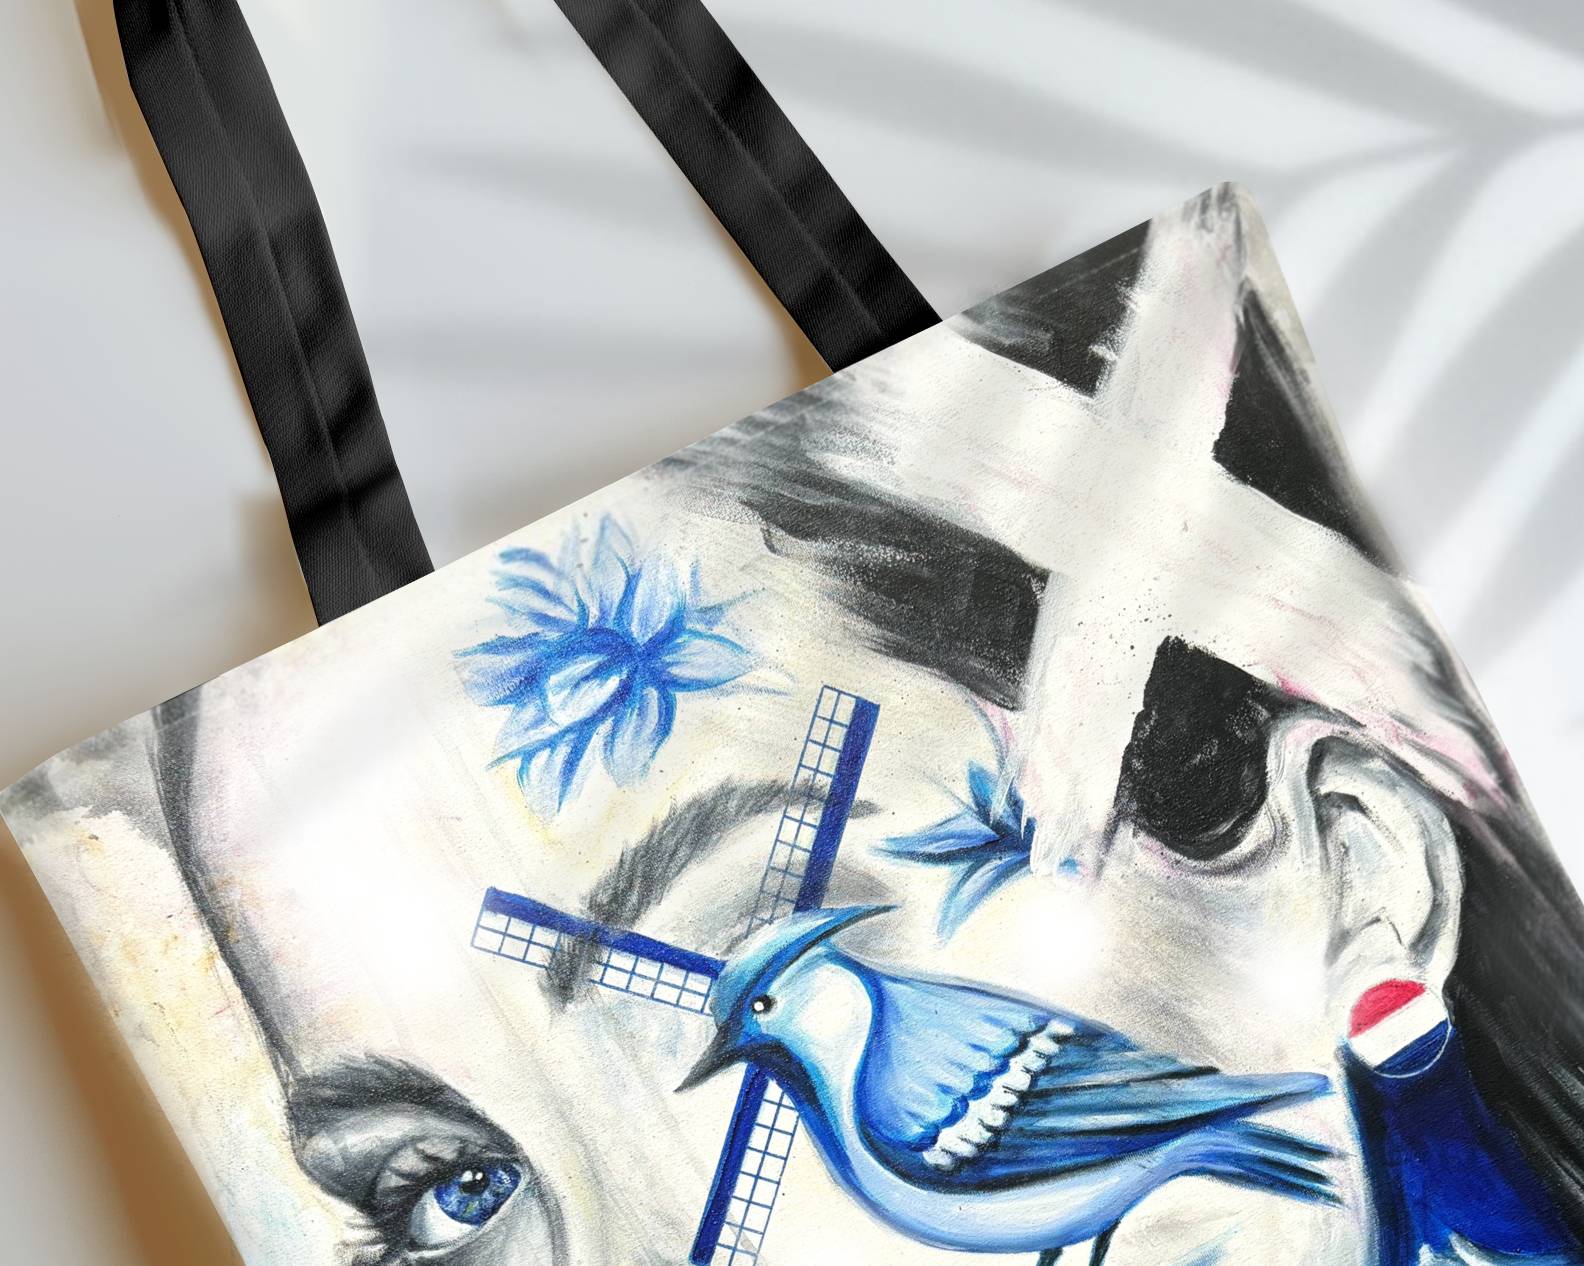
Before you start painting, take some time to plan out your design. This will help you visualize the final look and avoid mistakes. You can sketch your idea on paper or create a digital version on your computer. Here are a few design ideas to inspire you:
- Minimalist Patterns: Simple shapes like triangles, circles, and stripes in bold colors.
- Nature-Inspired Designs: Leaves, flowers, mountains, or animals.
- Typography: Inspirational quotes, fun sayings, or your favorite words in hand-lettered style.
- Pop Culture Themes: Illustrations of your favorite characters, bands, or hobbies.
- Abstract Art: Use splashes of color, lines, and textures to create a modern, artistic look.
Step 2: Prepare the Tote Bag
Once your design is ready, it’s time to prepare the tote bag for painting. Lay the bag flat on a clean, protected surface. Place a piece of cardboard or a plastic sheet inside the bag to prevent the paint from bleeding through to the other side.
Step 3: Outline Your Design
If you’re using stencils or templates, position them on the tote bag. For freehand designs, lightly sketch the outlines with a pencil. Be sure to keep the lines faint so that they won’t show through the paint. If you’re unsure about how the design will look, it’s always a good idea to practice on scrap fabric first.
Step 4: Begin Painting
Now comes the fun part! Start painting your design onto the tote bag, using your chosen fabric paints. If you’re working with multiple colors, start with the lightest ones and gradually work your way to darker shades. Use smaller brushes for detailed areas and larger brushes or sponges for larger spaces.
- Layering: If you want to create depth or texture, you can layer different colors on top of each other. Allow the paint to dry between layers.
- Blending: To create a smooth, ombré effect, gently blend two or more colors together while the paint is still wet.
- Dry Brushing: For a textured, weathered look, try dry brushing. Lightly dip a brush in paint and remove excess before brushing it onto the fabric. This creates a faded, imperfect finish.
Step 5: Let the Paint Dry
After you’ve finished painting, allow the design to dry completely. This could take anywhere from 1 to 4 hours, depending on the paint’s thickness and the ambient temperature. You can speed up the drying process by using a hairdryer on a low setting. Make sure to let the bag dry fully before moving on to the next step.
Step 6: Heat Set the Paint
To ensure your custom tote bag is durable and washable, you need to heat set the paint. Lay the painted tote bag flat on an ironing board. Place a piece of parchment paper or a thin cloth over the design, and press it with an iron on a low to medium heat setting. Iron the design for about 3-5 minutes, focusing on all areas of the painted surface. This will ensure that the paint is permanently set and will not wash off.
Step 7: Add Final Touches
Once the paint is set, you can add any final embellishments or details. Consider adding:
- Embroidery: Use colored thread to stitch over parts of the design for extra texture.
- Rhinestones or Beads: Adorn your design with small gems or beads to give it some sparkle.
- Fabric Patches: Sew on patches for a trendy, street-style look.
Step 8: Let Everything Dry Completely
Once you’ve added any final details, let the tote bag dry completely before using it. This will ensure that all embellishments are securely attached and that the paint won’t smudge.
Care Tips for Your Custom Tote Bag
Once you’ve created your custom tote bag, you’ll want to take care of it so that it lasts. Here are some tips for maintaining your handmade design:
- Hand Wash: To preserve the design, it’s best to hand wash your tote bag in cold water. Avoid machine washing, as it may cause the paint to fade or peel.
- Air Dry: Always air dry your tote bag after washing. Avoid wringing it out or placing it in a dryer, as heat can damage the paint.
- Spot Clean: For minor stains, spot cleaning is your best bet. Gently rub the affected area with a soft cloth or sponge.
Conclusion
Customizing a tote bag with fabric paint is an easy, fun, and rewarding project that lets you express your creativity. With just a few supplies and some imagination, you can transform a plain tote bag into a one-of-a-kind accessory. Whether you keep it for yourself or give it as a gift, your custom-designed tote will always stand out and be a reminder of your artistic skills.
