
In today’s world, personalization is king. From clothes to accessories, people crave items that reflect their personality, style, and taste. Your phone, a device you probably carry everywhere, is no exception. A custom-designed phone case is more than just protection; it’s a statement. But how do you go about making one that’s unique, functional, and visually stunning? This article will guide you through the entire process, blending creativity, craftsmanship, and technology. By the end, you’ll know how to produce a phone case that’s truly one-of-a-kind.
Understanding the Basics: What Makes a Great Phone Case
Before diving into design and materials, it’s essential to understand what makes a phone case truly effective. A good phone case must balance three main factors:
- Protection: The primary function of any phone case is to protect your device. This includes cushioning from drops, preventing scratches, and sometimes even water resistance. Materials such as silicone, TPU (thermoplastic polyurethane), polycarbonate, and leather are commonly used for their protective qualities.
- Functionality: Your phone case should not interfere with the device’s usability. This means precise cutouts for charging ports, buttons, cameras, and speakers. Additionally, some cases incorporate features like kickstands, cardholders, or extra battery packs.
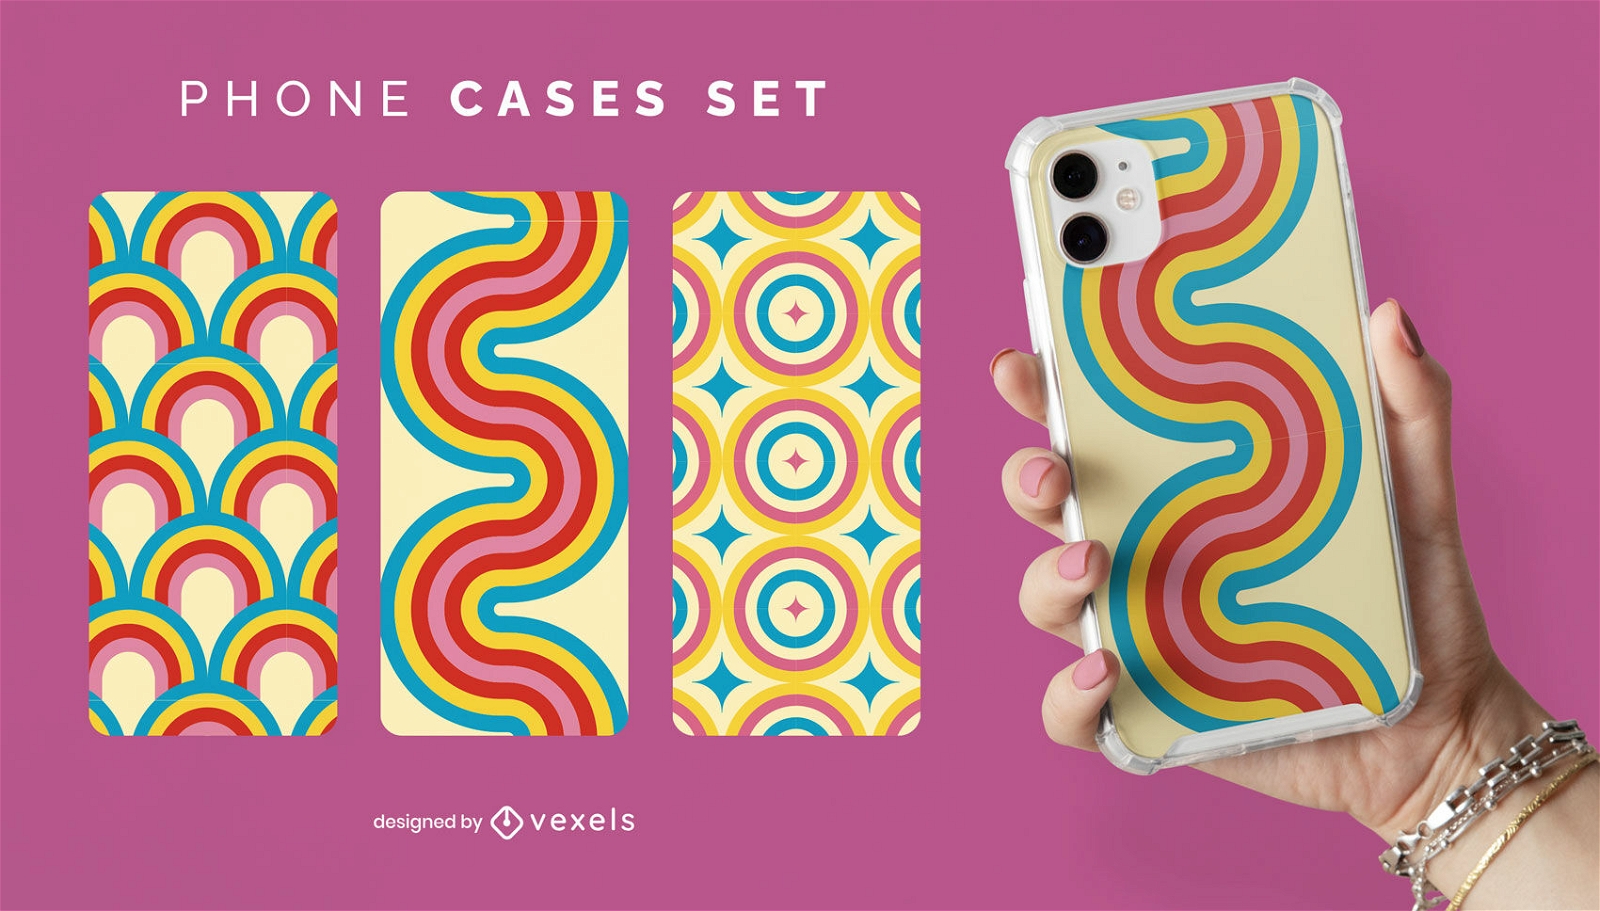
- Aesthetic Appeal: The visual design is what makes a case stand out. Color, pattern, texture, and imagery all contribute to its appeal. This is where creativity meets technical skill, especially if you want a custom design.
Understanding these elements will help you make informed decisions throughout the design process. A stylish case that doesn’t protect your phone is useless; a protective case that looks dull fails to express personality. Striking a balance is the key.
Step 1: Choosing the Right Material
Material choice is the first crucial decision when designing a custom phone case. Different materials provide distinct benefits and limitations:
- Silicone and Rubber: Flexible, shock-absorbent, and easy to grip. Perfect for drop protection but prone to attracting dust.
- TPU (Thermoplastic Polyurethane): A hybrid between plastic and silicone. Offers better scratch resistance than silicone while maintaining flexibility.
- Polycarbonate: A rigid plastic ideal for cases with detailed prints or 3D designs. Durable but can crack under extreme stress.
- Leather: Luxurious and stylish. Often used for folio-style cases. Offers minimal shock protection compared to silicone or TPU.
- Metal or Wood: Highly durable and distinctive in appearance. These materials require precise engineering and often increase the weight of the phone.
Choosing the right material depends on your priorities. If you value protection above all, TPU or silicone may be ideal. For premium aesthetics, leather, wood, or metal could be better choices.
Step 2: Conceptualizing Your Design
Now that you’ve picked your material, it’s time to get creative. A well-thought-out design starts with an idea, which you can develop using several methods:
- Sketching: Traditional pencil and paper or digital drawing tablets allow freeform design. Focus on patterns, logos, or artistic concepts.
- Graphic Design Software: Programs like Adobe Illustrator, Photoshop, or free alternatives such as GIMP enable precise digital designs. Vector graphics are especially useful because they can scale without losing quality.
- Theme Selection: Decide if your case will be abstract, minimalist, cartoonish, floral, or photographic. Cohesive themes make your design more visually appealing.
- Color Psychology: Color choices affect perception. Vibrant colors grab attention, while muted tones provide sophistication. Complementary colors enhance visual harmony, while contrasting colors can highlight important elements.
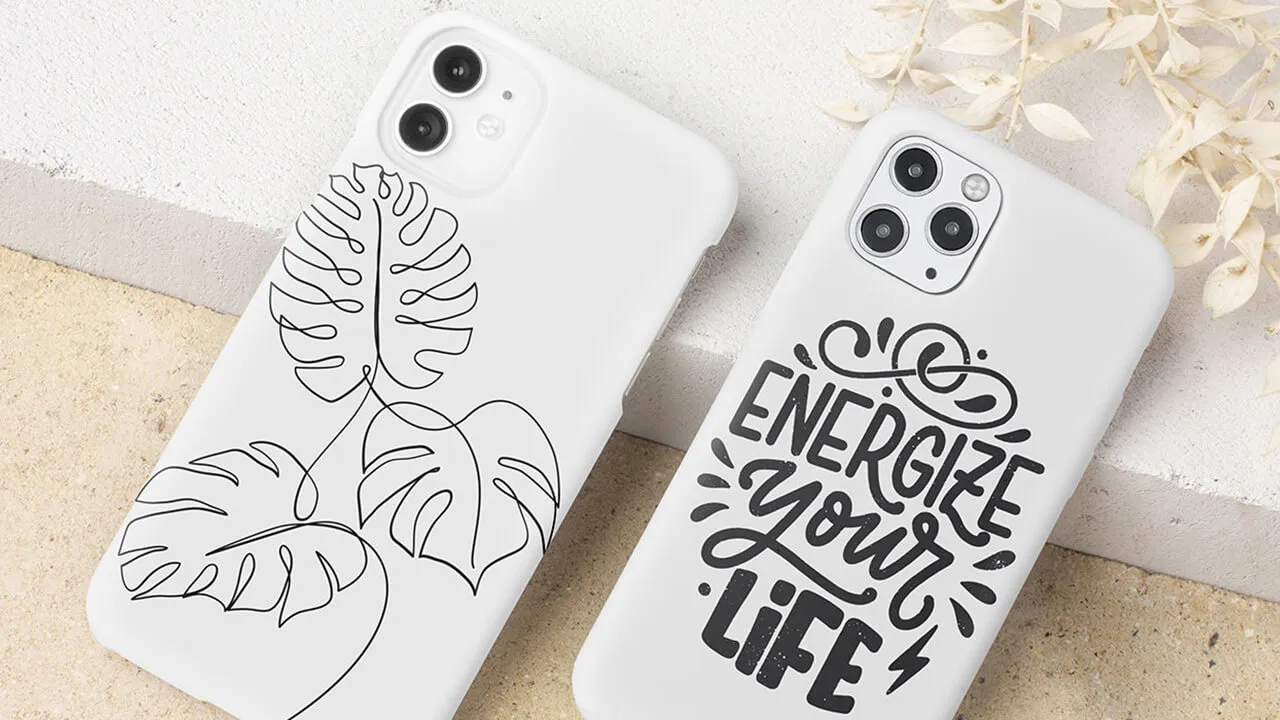
- Personal Touch: Incorporate initials, favorite quotes, or personal photos. Customization is all about making the case uniquely yours.
Remember, the design should consider the physical shape of the phone. Buttons, cameras, and edges must remain accessible and functional.

Step 3: Digital Rendering and Mockups
Once your design concept is ready, the next step is creating a digital mockup. This step bridges creativity and reality, allowing you to visualize the final product before production.
- 3D Modeling: Software like Blender or Fusion 360 lets you create a three-dimensional model of the case. You can simulate how the design wraps around the phone and check for misalignments.
- Mockup Templates: For simpler projects, pre-made phone case templates in PSD or AI format work well. You can apply your design directly and see how it looks on the device.
- Prototyping Tools: Some online platforms offer tools that let you upload your design and simulate a 3D view. This step is crucial for spotting errors before printing.
Digital mockups save time and money, ensuring your design is flawless before moving to the production stage.
Step 4: Printing Methods for Custom Cases
Printing is the stage where your design becomes tangible. Several methods exist, each with advantages and limitations:
- Sublimation Printing: Ideal for full-color designs on polymer cases. The image is transferred using heat, producing vibrant, long-lasting results.
- UV Printing: Uses ultraviolet light to cure ink directly onto the case surface. Works well on hard plastics and allows for detailed designs with high precision.
- Screen Printing: Best for simpler designs with limited colors. Requires creating a stencil for each color layer.
- Decals and Stickers: Affordable and customizable, though less durable. Can be layered or laminated for extra protection.
- Hand Painting: For a truly artisanal touch, hand-painted cases are unique. Use acrylic paint and seal with a protective coating.
Choosing the printing method depends on your design complexity, durability needs, and budget.
Step 5: Cutting and Shaping
For certain materials like wood, leather, or metal, your design may require cutting or engraving. This process adds a tactile element to your phone case:
- Laser Cutting/Engraving: Precision cutting and engraving are possible with lasers, ideal for intricate patterns or text. Works on wood, metal, and some plastics.
- Die Cutting: Uses a pre-shaped mold to cut the material. Efficient for bulk production.
- Manual Crafting: Leather cases often require hand cutting and stitching. While labor-intensive, this method adds a handcrafted charm.
Accuracy is critical here. Misaligned cuts can compromise both aesthetics and functionality.
Step 6: Assembly and Finishing Touches
After printing and shaping, assemble your phone case and apply finishing touches:
- Sealing and Coating: Protective coatings prevent scratches and color fading. Matte or glossy finishes alter the visual style.
- Adding Accessories: Some cases include additional features like strap loops, kickstands, or cardholders. Make sure they are securely attached and functional.
- Quality Control: Inspect the case for defects, misprints, or sharp edges. A professional finish ensures your case is durable and visually appealing.
Finishing touches are what elevate your case from good to exceptional.
Step 7: Testing Your Case
Before showing off your custom case, test it rigorously:
- Fit Test: Ensure the case fits snugly and allows full access to all buttons and ports.
- Durability Test: Simulate everyday use to check for cracks, scratches, or peeling designs.
- Comfort Test: Check grip, weight, and ergonomics. A stylish case that’s uncomfortable to hold defeats the purpose.
Testing ensures that your creativity does not compromise functionality.
Step 8: Optional – Selling or Sharing Your Designs
If your case turns out well, you might want to share it with others. Here’s how:
- Online Marketplaces: Platforms like Etsy or Shopify allow you to sell custom-designed cases.
- Print-On-Demand Services: Websites like Redbubble or Casetify handle production and shipping, letting you focus on design.
- Social Media Promotion: Platforms like Instagram and TikTok are ideal for showcasing visually appealing designs.
Remember, presentation matters. High-quality photos, engaging descriptions, and proper branding help your design stand out.
Tips for Creating Truly Unique Designs
To ensure your phone case is memorable, consider these tips:
- Experiment with Materials: Combining leather with metal accents or transparent cases with 3D inserts can create a stunning effect.
- Use Texture: Matte, glossy, embossed, or rubberized textures add depth and tactile interest.
- Play with Scale: Mix large bold elements with small detailed patterns for visual balance.
- Incorporate Technology: Some cases integrate LED lights, wireless charging compatibility, or augmented reality features.
- Stay Inspired: Follow trends in art, fashion, and design, but always inject your personal flair.
Innovation and attention to detail make your case a conversation starter, not just a protective cover.
Conclusion
Creating a custom-designed phone case is a blend of artistry, engineering, and personal expression. From selecting the right material and conceptualizing a design to printing, cutting, and testing, each step requires attention to detail and a dash of creativity. Whether you want a case that is minimalist, quirky, elegant, or bold, following these steps will ensure your final product is functional, durable, and uniquely yours. Your phone is an extension of your personality, and a custom case is one of the most accessible ways to showcase it.
By approaching the process methodically, embracing your creativity, and experimenting with materials and techniques, you can transform a simple phone accessory into a work of art that stands out in any crowd. The journey is as rewarding as the result, and each case you create tells a story—your story.
