
Crocheting your own blanket can be an incredibly rewarding and relaxing project. Whether you’re a beginner looking to dive into the world of crochet or an experienced crocheter aiming for a new challenge, creating a crochet blanket is a great way to express creativity while making something cozy and functional for your home. In this article, we’ll walk through the best practices, essential materials, tips, and tricks to help you make your very own crochet blanket. Plus, we’ll give you some guidance on how to elevate your design to the next level, ensuring a beautiful and enjoyable experience from start to finish.
Why Make a Crochet Blanket?
Before we dive into the details, you may wonder: Why crochet a blanket when you can easily buy one? Well, the answer is simple—crocheting a blanket offers you complete creative control over color, design, texture, and size. Making your own blanket can also be deeply satisfying. Each stitch you make is a step towards creating something beautiful with your own hands.
Crochet blankets also carry a personal touch and are perfect gifts for friends and family. Plus, they allow you to craft something that truly fits your space, whether you want to match your living room décor or create something cozy for your bed. As you work on your blanket, you get to enjoy the meditative rhythm of crochet while watching your project come to life.
Materials You’ll Need
Before you start crocheting, it’s important to gather your materials. The right tools can make all the difference in your project. Here’s a list of essential items you’ll need:
1. Yarn
- Weight: For beginners, medium-weight yarn (often labeled as “worsted weight” or “4” on the yarn label) is a great choice. It’s easy to work with and creates a nice, solid fabric.
- Fiber: The type of yarn fiber you choose affects the texture and durability of your blanket. Popular options include cotton, wool, or acrylic yarn. Wool is soft and warm, while cotton is breathable and great for warmer climates. Acrylic yarn is affordable, machine washable, and versatile.
- Color: This is where your creativity comes in. Pick colors that match your aesthetic or create patterns. You can even experiment with gradients or variegated yarns for a more dynamic look.
2. Crochet Hook
- The hook size depends on your yarn. Check the yarn label for recommended hook sizes. As a rule of thumb, a medium-weight yarn generally pairs well with a 5mm (H-8) or 6mm (J-10) hook.
3. Scissors
- A sharp pair of scissors will help you cut your yarn cleanly when you finish your blanket or need to change colors.
4. Yarn Needle
- Also known as a tapestry needle, this is useful for weaving in your ends after finishing a row or color change.
5. Stitch Markers (Optional)
- These are helpful for keeping track of your stitches, especially in more complicated patterns. They can also mark the beginning or end of a round if you’re working in the round.
6. Measuring Tape
- This helps you keep track of the size of your blanket as you go along to ensure it’s the right dimensions.
Choosing the Right Crochet Blanket Pattern
The pattern you choose will dictate the look and difficulty level of your blanket. There are countless crochet blanket patterns to choose from, but you should select one based on your skill level and the desired complexity of the finished product. Here are some options to consider:
1. Granny Square Blanket
- The granny square is a classic crochet pattern that’s perfect for beginners. This pattern involves creating small squares, which are then stitched together to form the larger blanket. You can mix and match colors for a playful, vibrant look or stick to one color for a more uniform feel.
2. Simple Solid Blanket
- For those who want a straightforward project, a simple solid blanket is an excellent choice. This type of blanket uses basic stitches like single crochet, half double crochet, or double crochet to create a thick, warm fabric. You can experiment with textures or stripes to add variety to the design.
3. Ripple (Chevron) Blanket
- If you’re looking for a more dynamic pattern, the ripple or chevron design is an excellent option. This pattern features zig-zag shapes that create a visually striking effect. While it may take a bit of practice, it’s an excellent way to showcase your color choices.
4. Textured Blanket
- Textured blankets use different stitches to create a plush, cushioned effect. Patterns like the bobble stitch, popcorn stitch, or shell stitch give the blanket a unique feel and look. These types of blankets often have a more complex pattern, but they’re definitely worth the effort if you’re looking for something eye-catching.

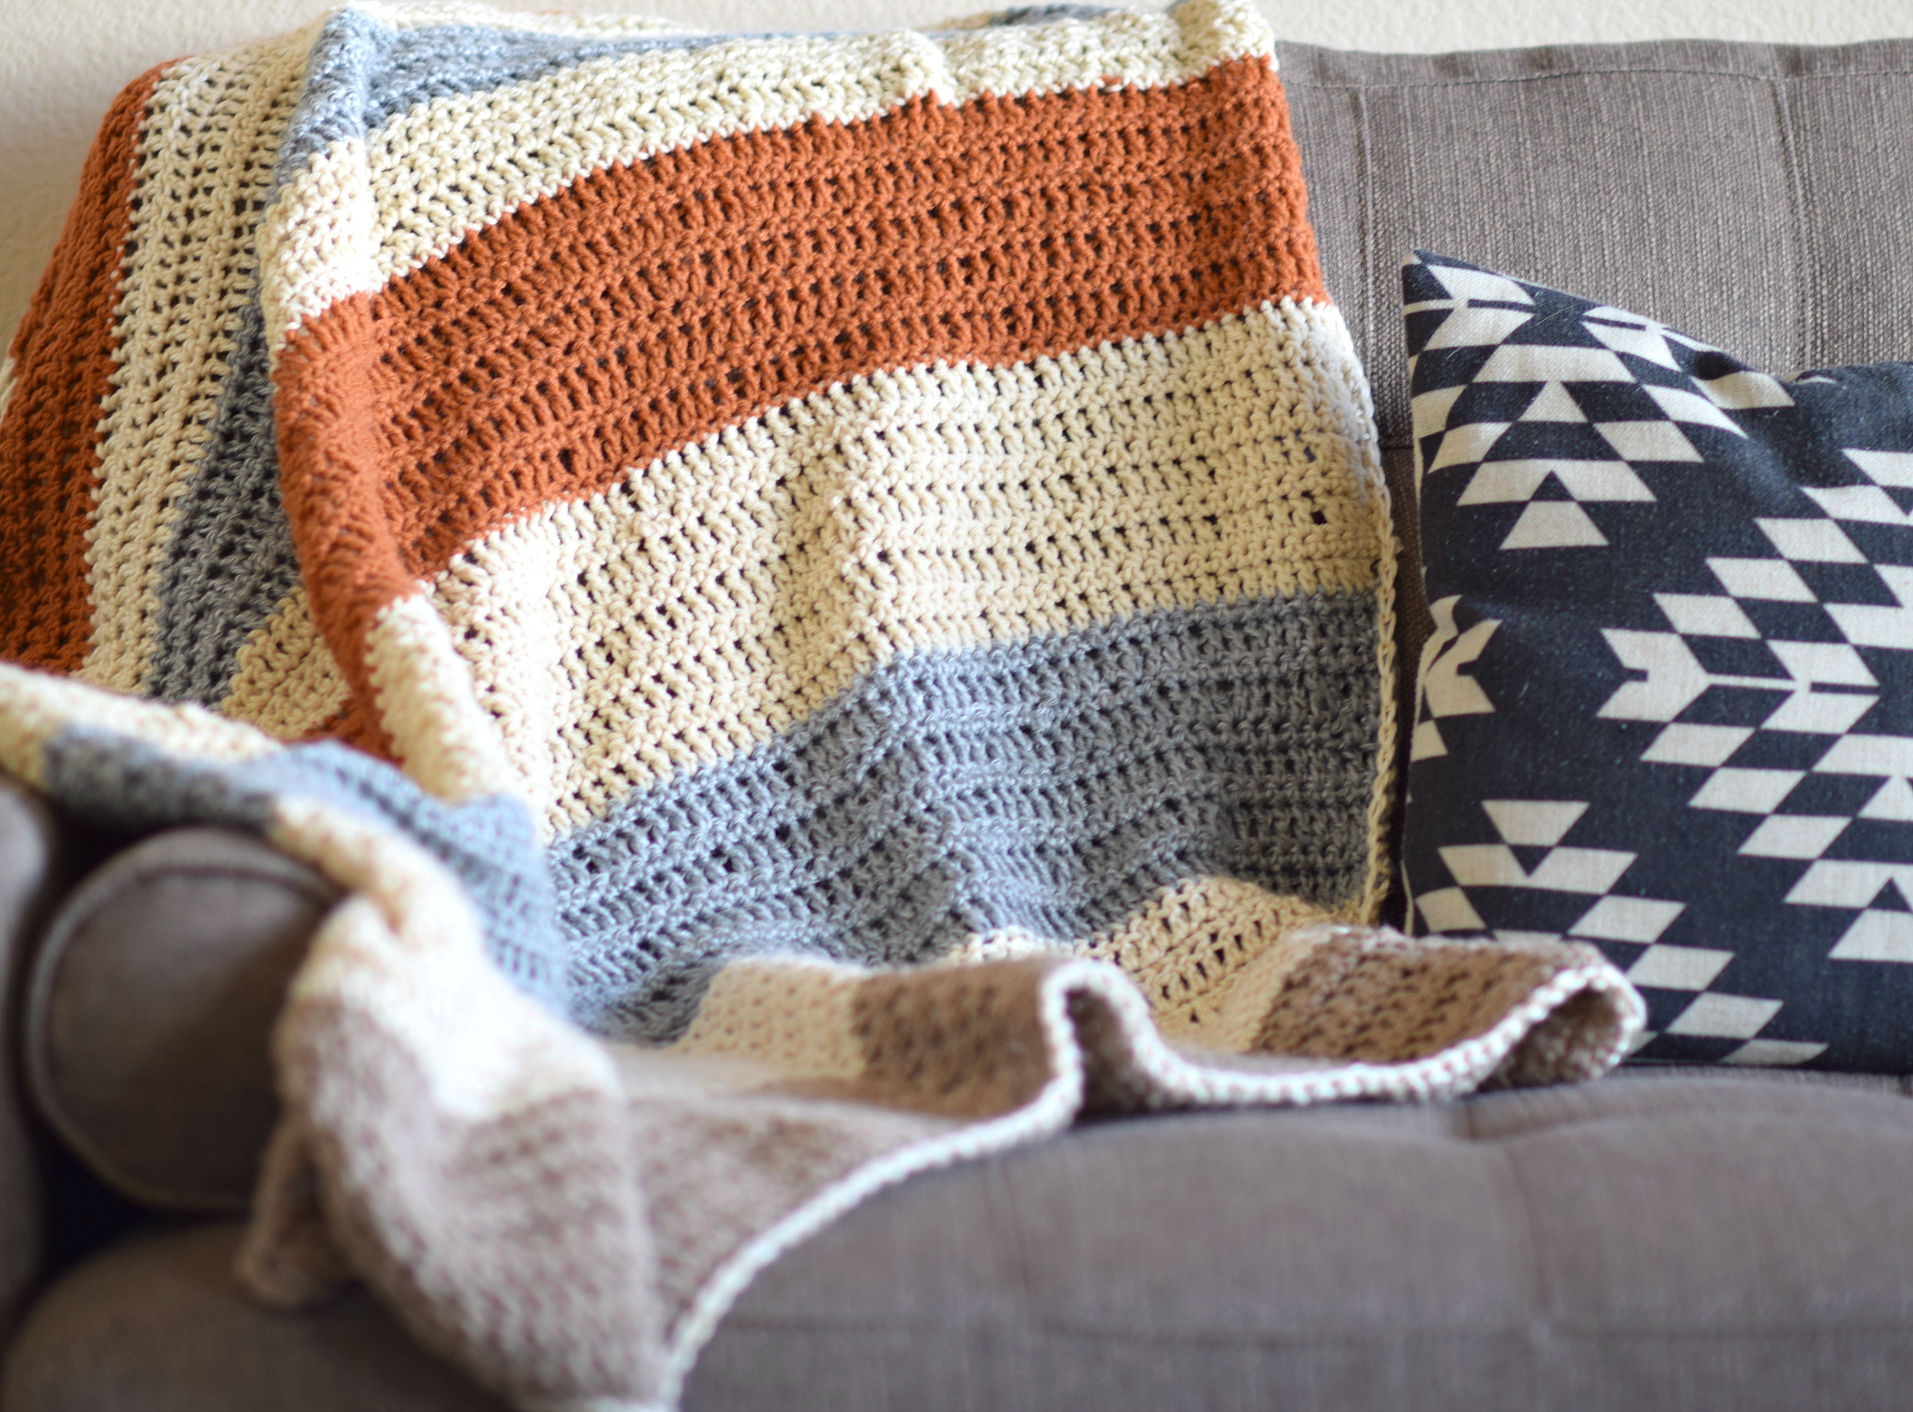
5. Striped Blanket
- A striped blanket involves alternating colors in a regular pattern. It’s a simple but effective way to create visual interest. You can make stripes in various widths or use gradient yarn for a smooth transition between colors.
Getting Started: Step-by-Step Guide
Now that you have your materials and a pattern in mind, let’s dive into the steps to create your own crochet blanket.
Step 1: Make a Foundation Chain
Every crochet project starts with a foundation chain. The number of chains depends on the size of your blanket and the width of each stitch. For a medium-weight yarn and a simple pattern, you might start with a chain of 100 or more, but always check your pattern for specifics. To begin, hold the yarn in your non-dominant hand and use your dominant hand to form loops with the crochet hook. Pull the yarn through the loop to create each chain stitch.
Step 2: Crochet the First Row
Once your foundation chain is ready, start crocheting your first row. If you’re using a simple stitch, like single crochet or double crochet, yarn over and pull through the chain loops, making sure to maintain consistent tension. This first row sets the foundation for your entire blanket.
Step 3: Turn and Work the Next Row
Once you’ve finished your first row, turn your work around. Depending on the pattern, you may need to chain a certain number of stitches before starting your next row. Continue crocheting in the pattern you’ve chosen, following the instructions for each stitch. If you’re changing colors, this is the time to add new yarn and seamlessly blend it into your work.
Step 4: Keep Going!
The key to making a crochet blanket is to keep crocheting row by row. It’s a repetitive process, so be patient and enjoy the rhythm. You’ll begin to see the fabric take shape with each new row, and the excitement of watching your blanket grow will keep you motivated. If you’re using a more intricate pattern, like a chevron or textured design, take it slow and refer to the pattern often.
Step 5: Bind Off and Finish
Once you’ve reached the desired size of your blanket, it’s time to finish off. This involves cutting the yarn and pulling it through the final loop to secure it. Afterward, use your yarn needle to weave in any loose ends to make the blanket look neat and tidy.
Tips for Success
Creating a crochet blanket can be a long-term project, especially if you’re aiming for a large blanket. Here are some tips to ensure the process goes smoothly:
- Take Breaks: Crochet can be repetitive, so make sure to take regular breaks to avoid hand strain and maintain focus.
- Maintain Even Tension: Try to keep your stitches even throughout the blanket for a professional finish.
- Don’t Skip the Swatch: Before starting your blanket, create a small swatch to ensure you’re using the right yarn and hook size. This will help you gauge whether the size and tension are right for the project.
- Use Stitch Markers: For more complex patterns, stitch markers can help you keep track of your stitches and prevent mistakes.
- Stay Consistent with Color Changes: If your pattern requires multiple colors, be mindful of when and how you change colors to avoid any awkward transitions.
Conclusion
Making your own crochet blanket is a journey that combines creativity, patience, and skill. Whether you’re crafting a simple solid blanket or experimenting with intricate designs, the process is both enjoyable and rewarding. With the right materials, a clear pattern, and a little practice, you can create a beautiful, cozy blanket to treasure for years to come.
