
Vintage-inspired jewelry has an undeniable charm, one that seamlessly blends history, art, and craftsmanship into pieces that feel timeless and personal. The intricate designs, often rooted in styles that span different eras, evoke a sense of nostalgia and elegance. But what if you want to recreate these beautiful designs without spending a fortune on high-end tools or taking weeks to learn complicated techniques? The good news is that crafting vintage-inspired jewelry with minimal tools is entirely possible—and it can be just as rewarding and creative as working with professional-grade equipment.
This article will explore how to craft vintage-inspired jewelry using a simple set of tools, techniques, and materials. Whether you’re a seasoned jewelry maker or a beginner, the possibilities are vast and exciting. Get ready to dive into the world of vintage charm, where you can channel the past into your own jewelry creations with just a few essential supplies.
Understanding Vintage Jewelry Design
Before we jump into crafting, it’s important to first understand the essence of vintage jewelry. The term “vintage” generally refers to jewelry that is at least 20 years old but no older than 100 years. Vintage-inspired jewelry, however, takes inspiration from various time periods, often replicating or mimicking the trends and techniques used in earlier designs.
Here are a few key vintage jewelry styles that you might want to consider:
- Art Deco (1920s-1930s): Known for bold geometric patterns, clean lines, and luxurious materials such as diamonds and emeralds, Art Deco pieces often feature symmetrical shapes and vibrant colors.
- Victorian (1837-1901): Victorian jewelry is ornate, often featuring delicate filigree work, floral motifs, and gemstones such as garnets, amethysts, and pearls.
- Edwardian (1901-1915): Known for its soft, lace-like patterns, Edwardian jewelry is elegant and refined. Filigree and platinum were common materials, with diamonds and pearls frequently used in designs.
- Retro (1940s): This style reflects the bold, heavy designs of the World War II era, often incorporating oversized gemstones and yellow gold.
The key to creating vintage-inspired jewelry with minimal tools is understanding the defining features of these styles and figuring out how to replicate them using simple techniques.
Essential Tools for Minimal Jewelry Crafting
You don’t need a vast array of high-end tools to start making vintage-inspired jewelry. Here’s a list of the basic tools you can use, most of which are affordable and easily available:
- Pliers: A few different types of pliers will serve you well. Needle-nose pliers for bending and shaping, round-nose pliers for making loops, and flat-nose pliers for gripping and holding.
- Wire Cutters: These are essential for trimming wire and other materials to the desired length.
- Jewelry Saw: If you’re working with metal, a small jewelry saw can be used for cutting through thin sheets of metal or wire. It’s affordable and fairly easy to use with a little practice.
- Beading Needles: If you’re incorporating beads into your designs (common in vintage styles), thin, flexible beading needles will help you thread beads with ease.
- Ruler and Caliper: Precision is key in jewelry making, and a ruler will help you measure lengths and sizes accurately. A caliper can help you measure the thickness of materials.
- Beads, Wire, and Findings: Vintage designs often rely on the use of specific beads and findings (such as clasps, ear wires, and jump rings) to create their distinctive look. For a vintage-inspired piece, consider using glass, crystal, or semi-precious stones. For the wire, choose one that is easy to bend but sturdy enough to hold its shape.
- Adhesive: For assembling intricate designs that may require gluing (such as attaching stones to settings), a strong jewelry adhesive is essential. Epoxy or superglue is usually the best option.
- File and Sandpaper: To smooth edges, remove any sharp points from metal, and finish your pieces, having a small metal file and some fine sandpaper is crucial.
With these basic tools, you can begin crafting pieces that resemble the intricate beauty of vintage jewelry.

Techniques for Crafting Vintage-Inspired Jewelry
Once you have the necessary tools, the next step is to learn some basic techniques. Depending on the style you’re aiming to replicate, these techniques may vary. However, there are several foundational methods that will help you create vintage-inspired jewelry without the need for an expansive toolkit.
1. Wire Wrapping
Wire wrapping is one of the simplest techniques used in jewelry making, and it’s particularly popular in vintage-inspired designs. This technique involves using wire to wrap around gemstones, beads, or other components to create decorative settings or intricate designs.
To create a vintage-inspired piece using wire wrapping:
- Start with a piece of wire and bend it around a bead or gemstone.
- Use round-nose pliers to create loops or spirals in the wire.
- Twist and wrap the wire around your piece to create a secure setting.
- This technique is ideal for creating vintage-style pendants, earrings, and bracelets.
2. Beadwork
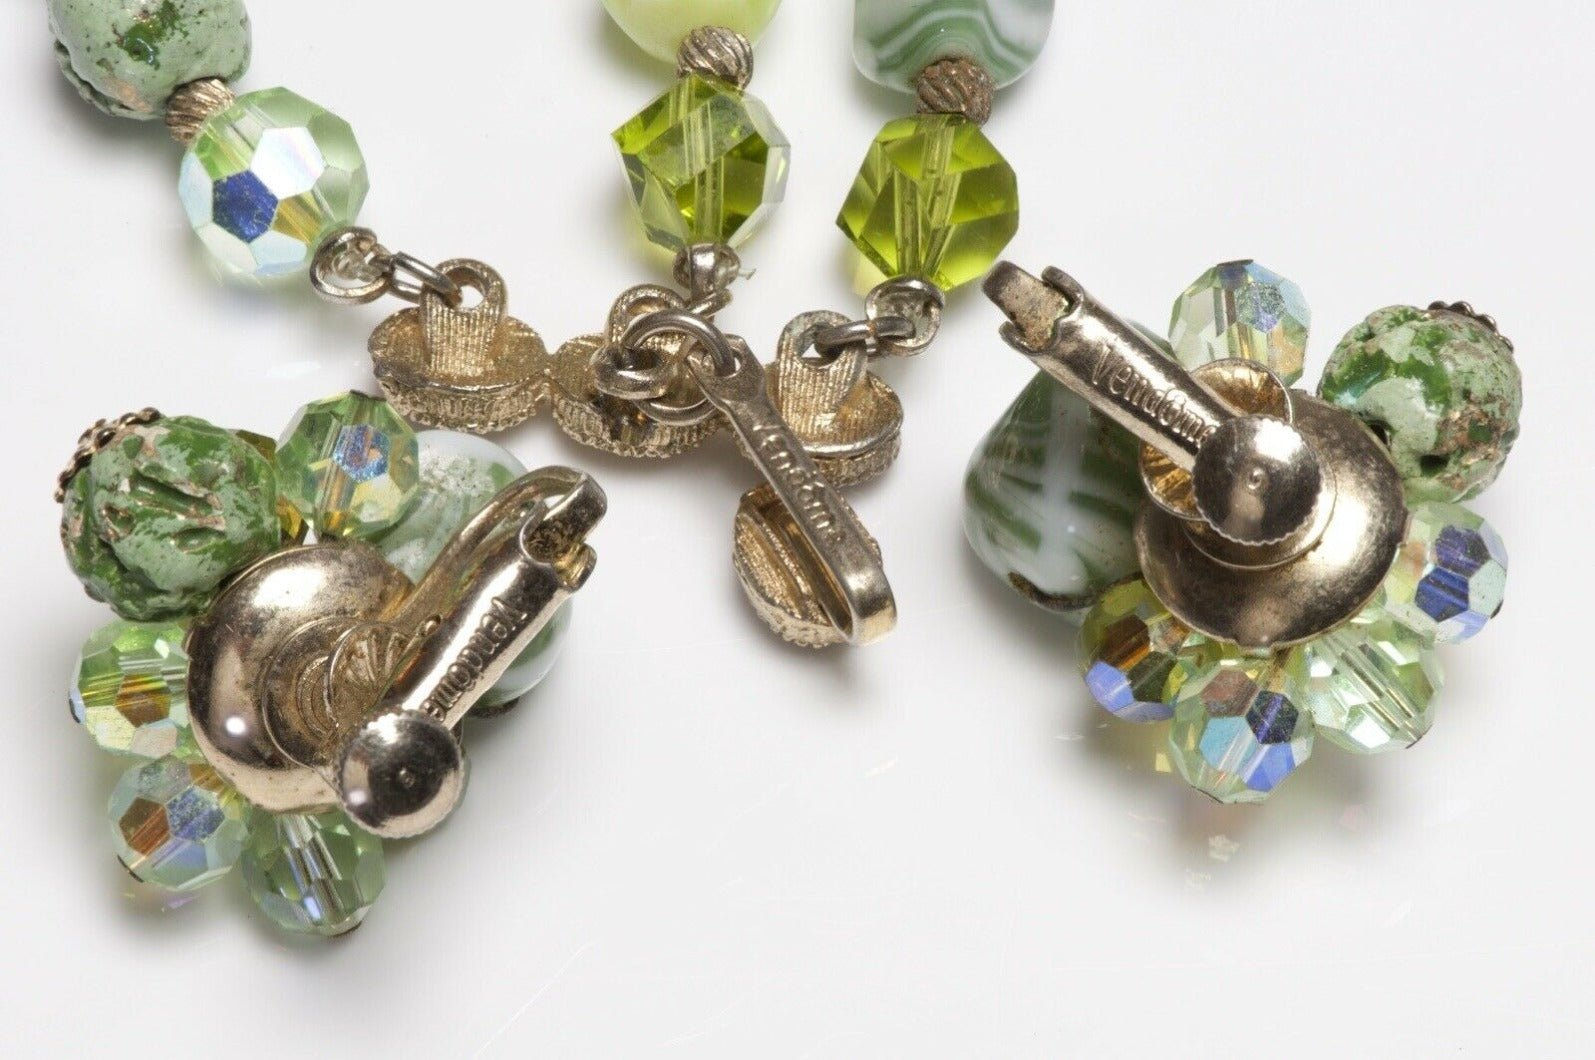
Beading was especially popular in vintage jewelry, with glass beads, crystal beads, and even pearls often used to create elaborate designs. You don’t need advanced bead weaving skills to create something beautiful. A simple technique involves stringing beads together on a strong thread or wire to make necklaces, bracelets, or earrings.
For a vintage look, consider:
- Using beads in classic colors like black, gold, or pearl.
- Combining various shapes and sizes of beads to mimic the eclectic look of vintage designs.
- Incorporating metal accents like small charms, clasps, or spacers to give the piece more dimension and elegance.
3. Charm Making
Vintage jewelry often features charms—small, detailed pieces that hang from a chain, bracelet, or necklace. You can make your own vintage-inspired charms with basic tools and a bit of creativity.
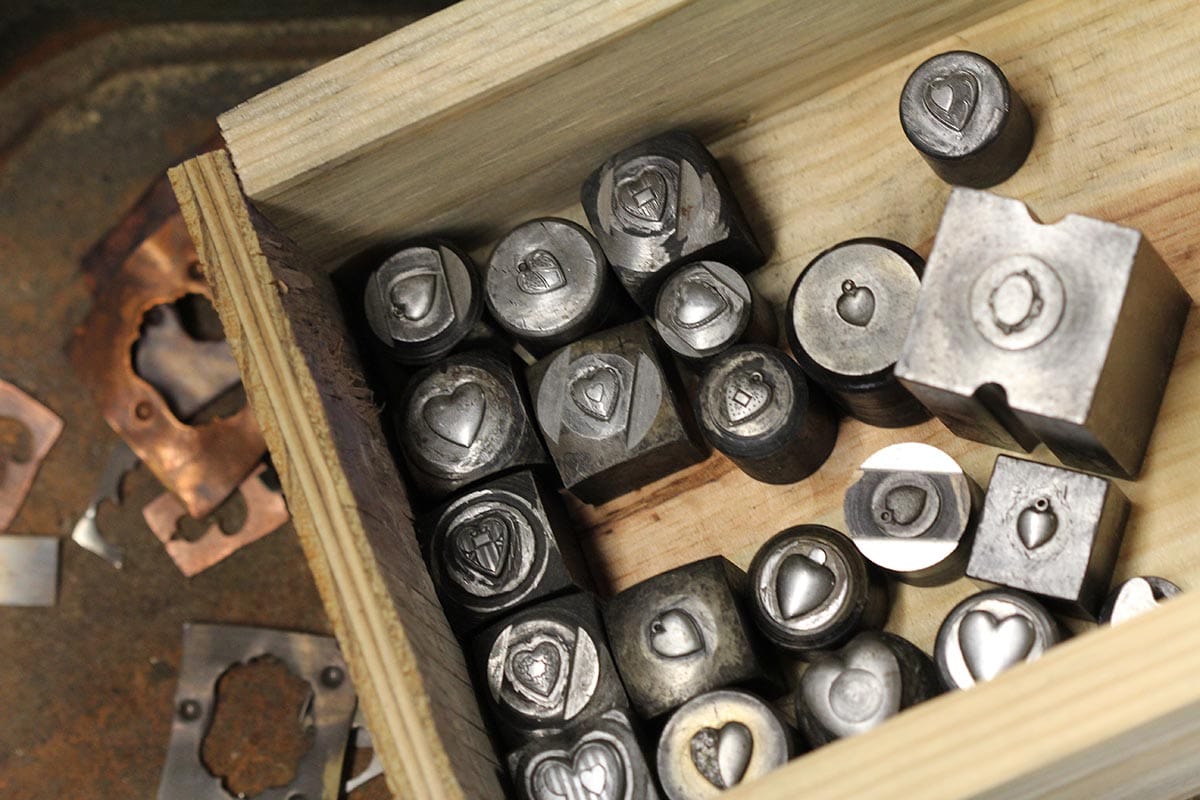
Here’s how to make a simple charm:
- Cut a small piece of metal or use a pre-made charm blank.
- Use a jewelry saw or metal shears to shape it.
- Add intricate designs using a metal punch, embossing tool, or file.
- Punch a small hole to attach it to a chain or bracelet.
4. Setting Stones
Vintage jewelry often features beautifully set stones. You don’t need to be a professional jeweler to set a stone. You can use simple prong settings or bezel settings, which are quite achievable with minimal tools.
To set a stone:
- Create a small bezel (a metal setting) or prongs using wire.
- Place your gemstone inside the setting.
- Use flat-nose pliers to gently bend the prongs or push the bezel over the edges of the stone.
- Ensure the stone is secure, then trim any excess wire.
5. Repurposing Old Jewelry
If you already have vintage or old jewelry lying around, consider repurposing it into new designs. Vintage brooches, earrings, or pendants can be transformed into bracelets, rings, or necklaces with just a few changes. This is a great way to breathe new life into pieces that might otherwise go unused.
For example:
- Remove a stone from an old ring and set it into a new pendant design.
- Turn an outdated brooch into a pair of earrings by removing the pin and attaching hooks.
- Use chain from a broken necklace to create a new bracelet or choker.
6. Finishing Touches
Once you’ve put your design together, don’t forget to finish it with the proper hardware. Use jump rings to connect different elements of your design, and choose a vintage-inspired clasp for bracelets or necklaces. A simple lobster clasp or toggle clasp can add to the retro feel.
Tips for Achieving a Vintage Look
Achieving a vintage-inspired look is about more than just the techniques—it’s also about the materials and finishes you choose. Here are some tips to help you recreate that timeless vintage feel:
- Use Antiqued Finishes: To give your jewelry an aged look, use patina solutions or tarnish your pieces. You can also use an antiquing solution to give metal a more vintage feel.
- Mix Materials: Vintage designs often incorporate a mix of materials, such as metal, glass, pearls, and gemstones. Don’t hesitate to experiment with different textures and finishes.
- Incorporate Filigree: Filigree is delicate, lace-like metalwork that’s a hallmark of vintage designs. You can find pre-made filigree components or create your own using wire.
- Opt for Subtle Colors: While vibrant hues were popular in certain vintage eras (like Art Deco), many vintage pieces are more muted. Think gold, silver, antique brass, and warm shades like amber, garnet, and topaz.
Conclusion: Crafting Your Own Vintage Jewelry
Crafting vintage-inspired jewelry with minimal tools is entirely achievable and offers endless possibilities for creativity. By learning a few simple techniques and using the right materials, you can create beautiful, timeless pieces that reflect your personal style. Whether you’re making a statement necklace, a delicate pair of earrings, or an elegant bracelet, vintage jewelry offers a unique way to blend history with modern craftsmanship.
So, gather your tools, pick your favorite vintage style, and start creating! You’ll find that with a little patience and practice, you can make stunning jewelry that carries the charm and elegance of a bygone era—without the need for expensive tools or professional training.
