
Stained glass—its name alone evokes a sense of delicate artistry, colorful patterns, and the gentle dance of sunlight through vibrant panes. For centuries, stained glass has adorned churches, palaces, and homes, transforming ordinary spaces into canvases of light and color. Traditionally, crafting stained glass has required a plethora of specialized tools, materials, and years of dedicated apprenticeship. But what if you want to explore this luminous art without committing to a full studio or an expensive toolkit? Can you master the art of stained glass with minimal tools? The short answer: yes—but with creativity, patience, and a deep understanding of the techniques, even a minimalist setup can yield impressive results.
In this comprehensive guide, we will explore how you can enter the world of stained glass artistry with only a few essential tools, demystify the craft, and offer practical advice for producing stunning works without overwhelming your workspace—or your wallet.
Understanding Stained Glass: More Than Just Colorful Windows
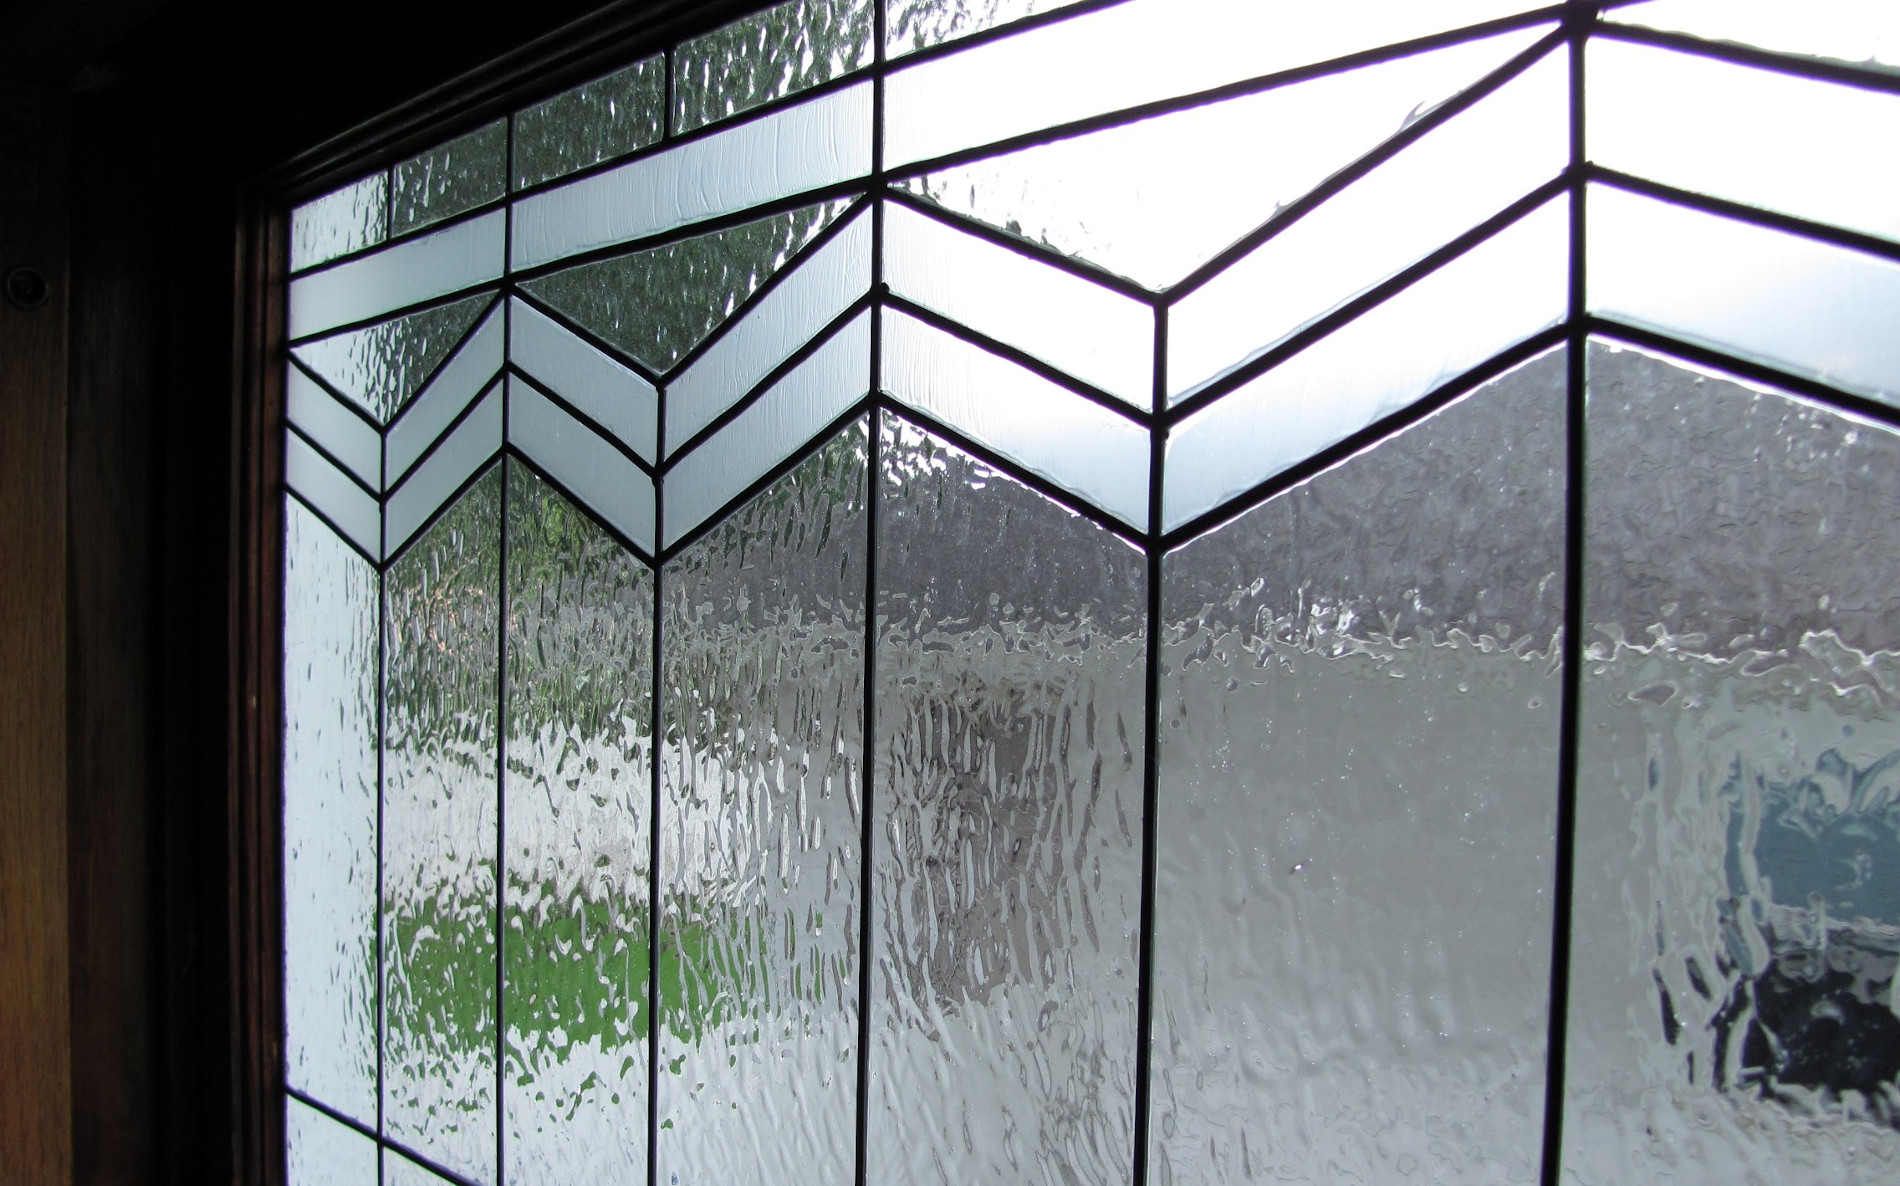
Before diving into tools and techniques, it’s important to understand what stained glass truly is. Stained glass is not just colored glass; it’s an art form that combines color, light, and composition to create images or abstract patterns. Each piece of glass is selected not only for its hue but also for its texture, opacity, and the way it interacts with light. In essence, stained glass is a medium that captures light itself and turns it into a visual narrative.
Historically, stained glass was dominated by large-scale ecclesiastical projects, requiring extensive studios, apprentices, and highly specialized tools like grozing pliers, glass grinders, and soldering irons. Modern artists, however, have shown that you can achieve remarkable results with a simplified toolkit, provided you understand the fundamentals: cutting, foiling, and assembling glass pieces into coherent designs.
Essential Principles of Stained Glass Artistry
Mastering stained glass, even with minimal tools, starts with a strong grasp of the principles behind the craft. These include:
1. Composition and Design
Every stained glass piece begins with a thoughtful design. This design should consider:
- Balance: Symmetry and distribution of color and shapes.
- Contrast: Juxtaposition of light and dark tones to create visual depth.
- Flow: How the viewer’s eye travels through the piece.
With minimal tools, paper, pencils, and markers may be your only design companions. You can create intricate patterns without ever touching glass, honing your eye for harmony and proportion.
2. Understanding Glass Properties
Glass is not uniform; it comes in a variety of textures, colors, and thicknesses. Two key considerations:
- Opacity and Translucence: Some glass allows light to pass fully; other types diffuse light for a softer effect.
- Brittleness: Glass breaks along natural grain lines, and different types of glass require different handling techniques.
By selecting the right glass for your project, you can minimize frustration and reduce the need for specialized cutting or grinding tools.
3. Simplified Cutting Techniques
Cutting glass is often perceived as the most intimidating aspect of stained glass. With minimal tools, a basic glass cutter—a small, inexpensive tool with a carbide wheel—is sufficient. Mastering consistent pressure and straight-line cuts can allow you to handle most beginner-to-intermediate designs.
Minimalist Toolkit: What You Really Need
Contrary to what many believe, a successful stained glass project does not require an entire workshop. Here’s a breakdown of the truly essential tools:
- Glass Cutter
The cornerstone of any minimalist stained glass setup. Even a simple handheld cutter can score precise lines if used with steady pressure. - Running Pliers
These pliers help break glass along the score line. While not strictly necessary (you can snap glass manually with care), they dramatically improve accuracy and reduce mistakes. - Foil or Lead Tape
For joining pieces, copper foil is more beginner-friendly than lead came, requiring less structural knowledge and fewer tools. - Soldering Iron
A low-wattage soldering iron is sufficient for small panels. With minimal experience, you can control heat to prevent cracking or warping. - Flux and Solder
Flux allows solder to adhere smoothly to foil, and lead-free solder is preferred for safety and ease of use. - Safety Gear
Even with minimal tools, safety cannot be compromised. Safety glasses, gloves, and a simple dust mask protect you from shards, fumes, and fine particles. - Cutting Mat and Templates
A self-healing mat or a sturdy surface protects your workspace, while templates allow precise replication of patterns.
Step-by-Step Guide: Creating Stained Glass with Minimal Tools
Here’s a practical workflow for beginners:
Step 1: Select Your Design
Start with a simple geometric or floral pattern. Avoid overly complex designs initially; even with minimal tools, intricate shapes can be achieved later with practice.
Step 2: Choose Your Glass
Select colors and textures that complement your design. Keep a small variety for your first projects—three to five colors can create depth without overwhelming the process.
Step 3: Transfer the Design
Draw your pattern on paper. Number each section and note the color and type of glass you intend to use. This “roadmap” ensures you won’t get lost mid-project.
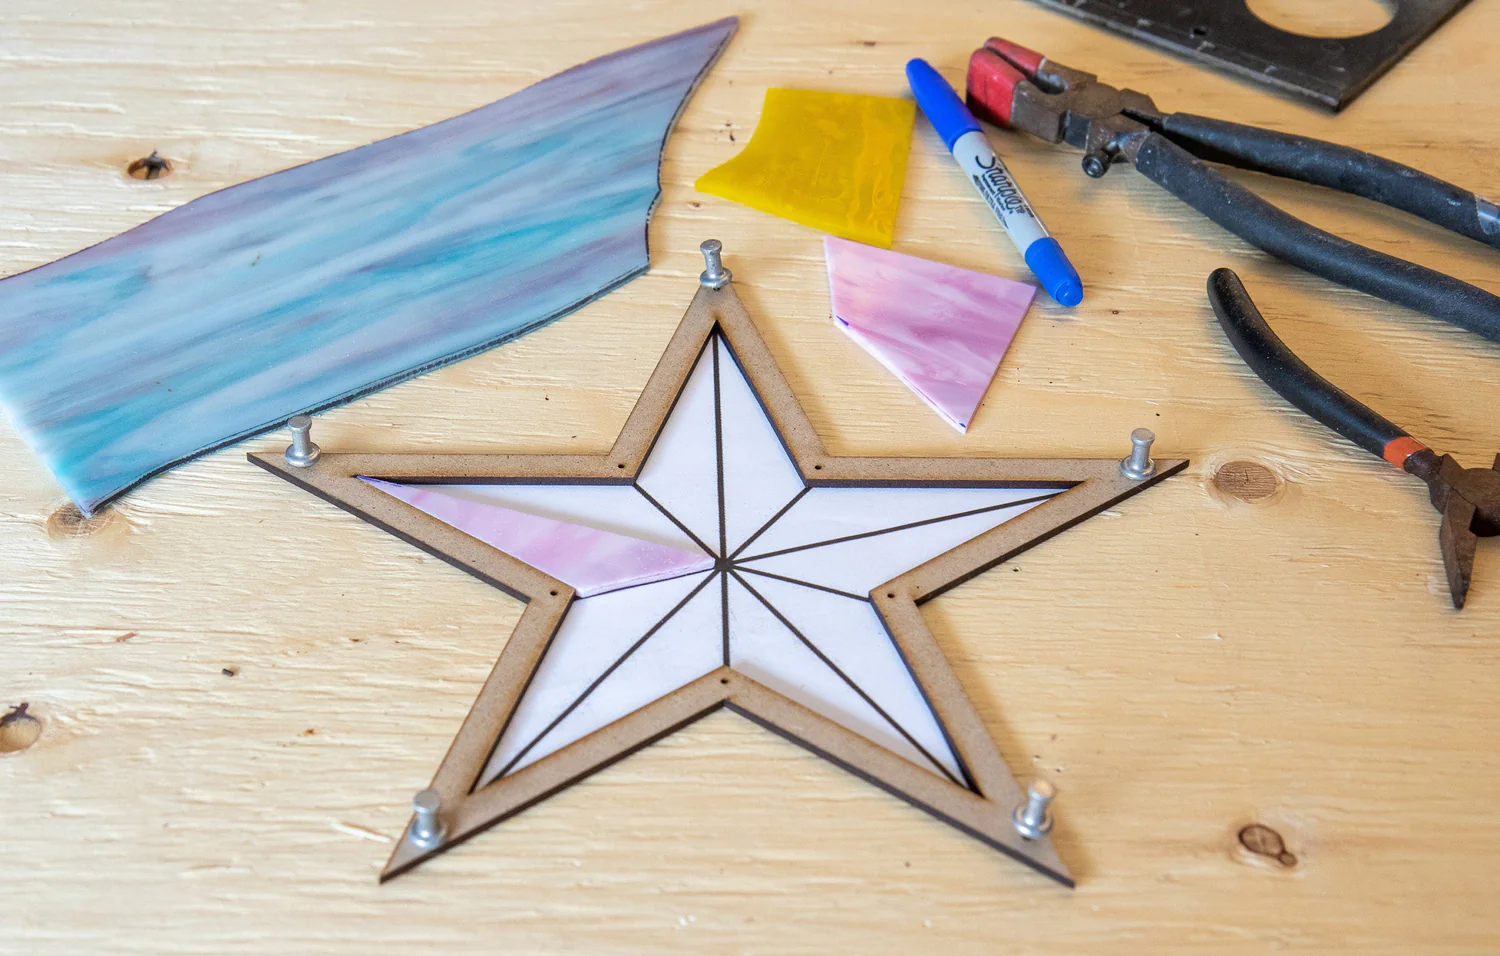
Step 4: Cutting the Glass
- Place your glass on a flat surface.
- Score the glass along the lines of your template using your glass cutter.
- Gently snap along the score line using running pliers or your hands (with gloves).
- Smooth rough edges by lightly grinding with a coarse edge or emery paper if available.
Step 5: Foiling
- Wrap the edges of each glass piece with copper foil.
- Press the foil firmly and smooth down any wrinkles.
- This step is critical; the foil acts as the adhesive surface for soldering.
Step 6: Assembling the Panel
- Place your pieces according to your design.
- Adjust spacing for uniformity; even minimal tools allow precise alignment if you take your time.
Step 7: Soldering
- Apply flux to the foil edges.
- Use your soldering iron to melt solder along the seams.
- Work slowly to avoid overheating and cracking glass.
Step 8: Finishing Touches
- Clean the glass thoroughly with a gentle detergent.
- Apply patina to solder lines if desired for aesthetic enhancement.
- Frame your panel if it’s intended as a window insert or standalone art piece.
Creative Strategies for Minimalist Stained Glass
When your toolkit is limited, creativity becomes your greatest asset. Here are some approaches to consider:
Use Smaller Panels
Large panels often require specialized support and complex tools. Miniature or modular panels are perfect for beginners with minimal equipment.
Embrace Irregular Shapes
Instead of forcing precise geometric cuts, use irregular, organic shapes. This technique reduces stress on glass and highlights the unique textures and colors of your materials.
Experiment with Mixed Media
Incorporate transparent resins, adhesives, or even acrylic panes to mimic stained glass effects without complex tooling. This approach allows you to experiment and refine your design instincts.
Play with Light
The magic of stained glass is in how it interacts with light. Test your panels in sunlight, near lamps, or behind frosted glass to explore shadows, reflections, and luminosity.
Troubleshooting Common Minimalist Challenges
Even with minimal tools, mistakes happen. Here’s how to overcome typical problems:
Uneven Cuts
- Solution: Practice on scrap glass to develop a consistent scoring technique.
- Tip: Score once with firm, even pressure rather than multiple shallow scores.
Foil Wrinkles
- Solution: Use a burnishing tool (or the back of a spoon) to press down foil.
- Tip: Take time to smooth edges; sloppy foil makes soldering messy.
Cracked Glass During Soldering
- Solution: Lower the soldering iron temperature, apply solder more slowly, or use smaller solder beads.
- Tip: Heat conducts quickly in thin glass; patience prevents cracking.
Advanced Tips for Minimalist Artists
Even minimal tools don’t mean minimal ambition. Once comfortable, you can explore:
- Layered Panels: Sandwiching glass layers for depth and shading.
- Textured Glass: Using rippled or patterned glass to create visual interest without intricate cuts.
- Color Gradients: Combining similar hues for smooth transitions.
- Fusing Techniques: With a simple home kiln or pre-cut glass, you can fuse colors for dramatic effects.
The key is to focus on design and color mastery rather than expensive tools. Minimalist stained glass emphasizes creativity over complexity.
Why Minimalism Can Be an Advantage
Limiting your toolkit is not a restriction—it’s a catalyst for innovation:
- Focus on Fundamentals: Less reliance on gadgets forces you to master core techniques.
- Cost-Effective: You can explore your artistry without investing thousands in a full studio.
- Portable and Flexible: Minimal tools allow you to work in small spaces or travel with your craft.
- Encourages Creative Problem-Solving: Constraints foster ingenuity, leading to unique, personal artwork.
Minimalist stained glass artists often produce work as refined and expressive as those with full studios. It’s about vision, patience, and thoughtful execution.
The Joy of Mastery
Mastering stained glass with minimal tools is a journey of observation, experimentation, and creativity. Every panel teaches lessons about color, light, and technique. The tactile process—the satisfying snap of glass, the smooth glow of soldered seams, the brilliance of sunlight filtering through your design—is deeply rewarding.
Ultimately, mastery is not measured by the tools at your disposal, but by the care, imagination, and skill you bring to your work. Minimal tools can produce maximum beauty if guided by understanding, patience, and an eye for luminous artistry.
Conclusion
Yes, you can master the art of stained glass with minimal tools. By understanding the principles of design, learning glass properties, practicing cutting and foiling, and embracing creative constraints, you can create breathtaking panels without an elaborate studio. Minimalism in stained glass is not a limitation—it’s a philosophy that emphasizes skill, creativity, and the transformative magic of light and color.
The next time sunlight streams through a colorful panel, consider that a few simple tools, paired with imagination and dedication, can illuminate both a room and your artistic potential.
