
As the crisp autumn air settles in, leaves turn shades of amber and gold, and the scent of pumpkin spice wafts through the air, there’s something magical about the fall season that captivates the senses. It’s no surprise that candles that evoke the essence of fall have become incredibly popular during this time of year. But can you really create a DIY candle that truly captures the smell of fall? In this article, we’ll explore the art and science behind making a candle that fills your space with the rich, cozy, and nostalgic fragrance of autumn. Along the way, we’ll dive into the best ingredients, scents, and techniques to ensure that your homemade fall candle is nothing short of perfection.
The Allure of Fall Scents
Before we jump into the how-to, let’s take a moment to understand why certain smells are so intrinsically linked to autumn. Fall scents tend to be warm, earthy, and spicy, evoking feelings of comfort and nostalgia. Think of the rich aroma of cinnamon, cloves, nutmeg, and the unmistakable sweetness of pumpkin. These familiar fragrances not only remind us of seasonal foods, but they also create an inviting atmosphere that’s perfect for cozy nights spent by the fire, sipping a hot beverage, or gathering with loved ones.
Scents also play a psychological role. Studies have shown that certain smells can improve mood and even reduce stress levels. In fact, research has found that the scent of cinnamon, for instance, has been linked to increased alertness and improved cognitive function. So, whether you’re looking to set a seasonal ambiance or boost your mood, a homemade fall candle could be the perfect addition to your home.
What You’ll Need: Materials for Your DIY Fall Candle
Creating your own fall-scented candle from scratch is easier than you might think. However, like any craft, having the right materials is crucial for a successful outcome. Let’s go through the essentials:
1. Wax
The base of any candle is the wax. While there are various types to choose from, paraffin and soy wax are the most common. However, for a more natural and eco-friendly option, soy wax is the preferred choice for many DIY enthusiasts. Soy wax is derived from soybeans, making it biodegradable, non-toxic, and renewable.
You’ll need about 1-2 pounds of wax, depending on how many candles you plan to make. The general rule is that one pound of wax will fill about three average-sized jars.
2. Fragrance Oils
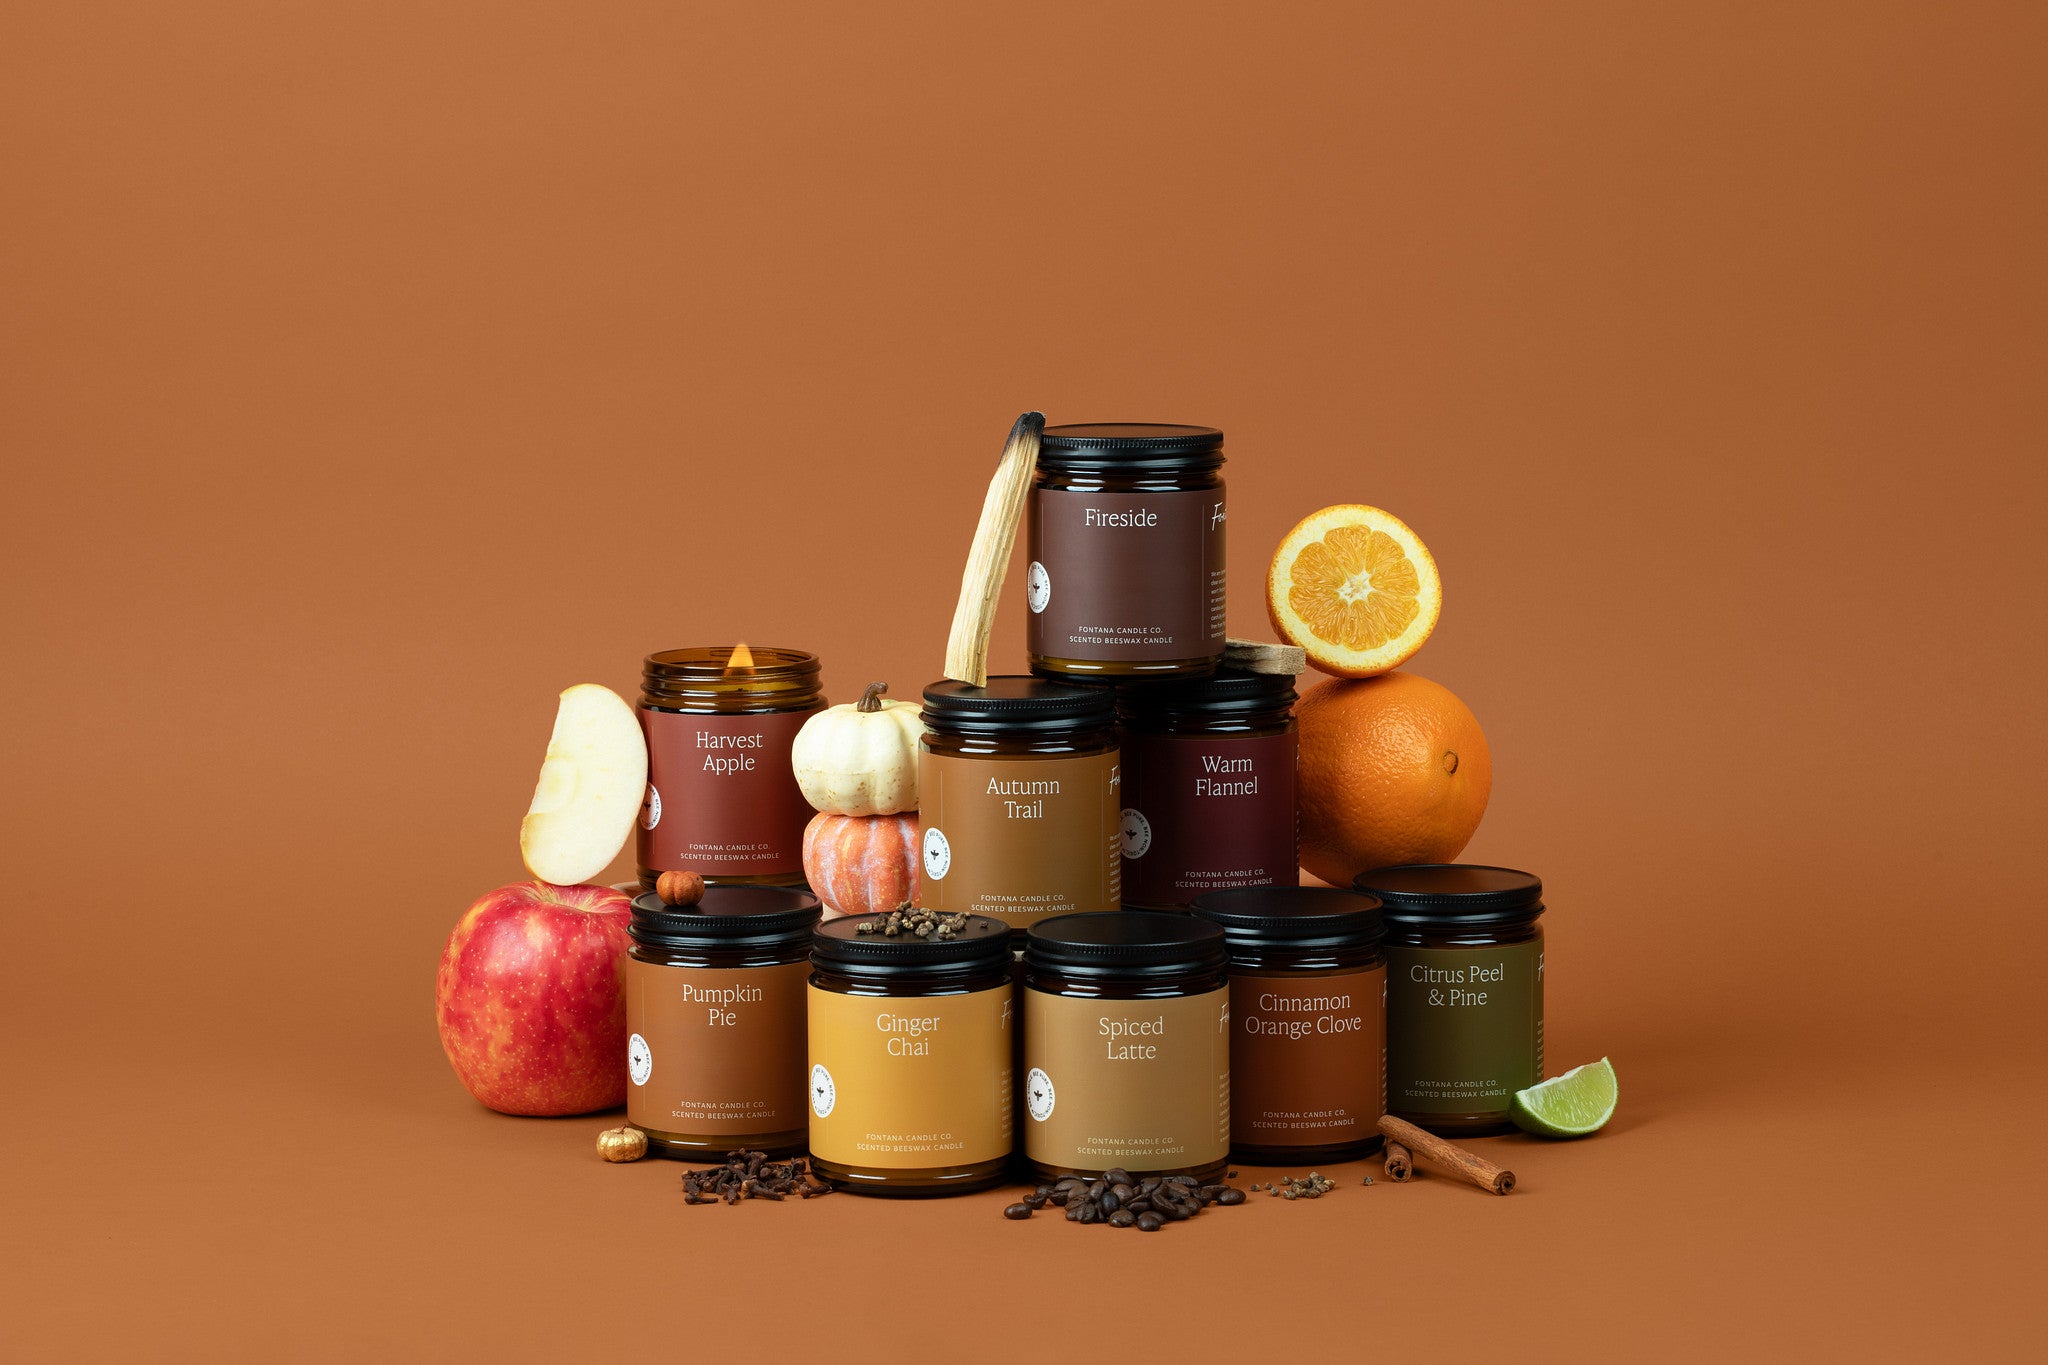
This is where the magic happens. Scented oils are what will make your candle smell like autumn. To create a fall-inspired fragrance, think about blending warm, spicy, and sweet notes. Here are some popular oils for a cozy fall scent:
- Pumpkin Spice: A blend of cinnamon, nutmeg, and clove, often mixed with a hint of vanilla. This is the quintessential fall scent and works well as the foundation for your candle.
- Cinnamon: A warm and spicy scent that immediately conjures up images of apple pie and cinnamon rolls.
- Apple: Fresh, crisp apple mixed with cinnamon and clove creates an inviting and nostalgic fragrance.
- Maple: A rich, sweet scent that is reminiscent of autumn mornings and pancakes with syrup.
- Clove: A deep, spicy note that adds complexity to your candle’s fragrance profile.
- Orange: Bright and zesty, orange essential oil can add a fresh and citrusy element to your fall blend.
When it comes to choosing the right fragrance oils, opt for those that are specifically made for candles. These oils are designed to withstand the heat of the burning wax without losing their scent.

3. Wick
The wick is an essential component for ensuring your candle burns evenly and safely. Cotton wicks are a popular choice, but you can also find wooden wicks that provide a more rustic, crackling sound as they burn. Wooden wicks are great for fall candles, as they complement the cozy, autumn ambiance.
For most DIY candles, a 6-8 inch wick is ideal. You’ll need one wick per container you plan to use.
4. Containers or Molds
To pour your wax into, you’ll need a heatproof container. Glass jars, metal tins, or even ceramic cups work wonderfully. Choose containers that reflect your aesthetic; something as simple as a mason jar can make a charming addition to your fall décor.
5. A Thermometer
This is important for ensuring that your wax melts to the right temperature, which is crucial for the fragrance to fully bind with the wax.
6. A Double Boiler or Wax Melter
A double boiler is essential for melting your wax evenly. If you don’t have one, you can simply place a heatproof bowl over a pot of simmering water. Alternatively, you can use a wax melter designed specifically for candle making.
Step-by-Step Guide: How to Make a Fall-Scented Candle
Now that we have everything ready, let’s go step by step on how to create your own fall-scented candle.
Step 1: Prepare Your Workspace
Candlemaking can get a bit messy, so it’s important to have everything ready before you start. Cover your workspace with newspaper or disposable tablecloths to catch any wax drips. Make sure you have all your materials in front of you and that you’re working in a well-ventilated area.
Step 2: Melt the Wax
Start by melting your wax in a double boiler or wax melter. Fill the bottom pot with water and place the wax in the top pot or heatproof bowl. Stir occasionally as it melts. Wax should be melted to about 170-180°F (77-82°C). Using a thermometer to check the temperature is key here because overheating the wax can affect the scent throw of your candle.
Step 3: Add Fragrance Oils
Once the wax is fully melted, it’s time to add the fragrance oils. A general rule of thumb is to add 1 ounce of fragrance oil per pound of wax. Stir the mixture for about two minutes to make sure the fragrance is evenly distributed.
If you want to layer different scents, you can divide the wax and add different oils to each batch. For a layered effect, pour each layer separately, allowing it to cool before adding the next layer.
Step 4: Attach the Wick
Before pouring your wax, you need to attach the wick to the bottom of your container. You can do this by dipping the wick in the melted wax and pressing it firmly to the center of the jar or container. Alternatively, you can use a wick sticker or glue dot to secure it in place.
Step 5: Pour the Wax
Once your wax is properly scented and the wick is secure, it’s time to pour the wax into your containers. Carefully pour the wax slowly to avoid air bubbles. Fill the container until it’s about half an inch from the top.
Make sure the wick remains centered as the wax begins to harden. You can use a wick holder or a pencil to keep it in place while it sets.
Step 6: Let the Candle Cool
Allow the candle to cool at room temperature for several hours. Avoid moving or touching the candle while it’s cooling to prevent uneven setting. The wax will start to firm up, and the top layer might develop a slight texture. If you notice any cracks forming, simply reheat and pour a small amount of wax over the top to smooth it out.
Step 7: Trim the Wick
Once the candle has completely cooled, trim the wick to about ¼ inch above the surface of the wax. This ensures that the candle will burn evenly and that the wick won’t create excessive smoke.
Step 8: Let the Candle Cure
For the best scent throw, it’s important to let your candle cure for 24-48 hours before lighting it. This gives the fragrance oils a chance to fully bind with the wax, ensuring a stronger scent when burned.
Tips for Perfecting Your Fall Candle
- Experiment with scent combinations: Don’t be afraid to mix and match different fragrance oils to create your own signature fall blend. For example, try blending cinnamon, apple, and a touch of vanilla for a classic autumn aroma.
- Test burn: After your candle has cured, test burn it to ensure it burns evenly and releases the fragrance properly. If the scent is too faint, you can add more fragrance oil during the next batch.
- Use colorants: For a visual touch, you can add candle dye to your wax. Warm shades like amber, gold, or even deep red will complement your fall scents perfectly.
- Keep safety in mind: Always burn candles on a heat-resistant surface, away from flammable materials. Never leave a burning candle unattended.
Fall Candle Ideas and Variations
Now that you know the basics, here are some fall-themed candle ideas to inspire your next DIY project:
- Pumpkin Spice Latte Candle: A blend of pumpkin, cinnamon, vanilla, and a hint of coffee will bring the coffeehouse vibe right into your home.
- Crisp Autumn Leaves: Combine apple, cinnamon, clove, and a touch of cedarwood for a scent that captures the essence of a walk through fall foliage.
- Caramel Apple Delight: Sweet caramel paired with fresh apple and a hint of cinnamon creates a deliciously tempting fragrance.
- Harvest Moon: A sophisticated blend of orange, clove, and a touch of vanilla for a warm and spicy scent.
Conclusion
Making your own DIY candle that smells like fall is not only fun, but it’s also a great way to personalize your home with the cozy fragrances of the season. With the right materials, techniques, and a little creativity, you can craft a candle that smells just like autumn feels—warm, inviting, and full of nostalgia.
Whether you’re crafting candles as a gift or simply to enjoy the seasonal scent in your home, the process is straightforward, and the results are always worth it. So why not take the plunge and create your own fall-scented candles this season?
