
Making a perfect omelet is a skill that many cooks, whether novice or experienced, strive to master. The omelet is a deceptively simple dish—eggs, a bit of oil or butter, and your choice of fillings—but it has the potential to elevate a basic breakfast or brunch into a fine dining experience. Despite its simplicity, there are many subtle techniques and tips that can make the difference between a run-of-the-mill omelet and a flawless, restaurant-quality creation. In this article, we will explore the essential elements and methods that can help you make a perfect omelet every time.
1. Choosing the Right Eggs
The foundation of any great omelet is, of course, the eggs. You can’t make a perfect omelet without starting with the best quality eggs. Free-range or pasture-raised eggs often provide the best flavor, as these eggs have richer yolks that contribute to a beautiful golden color and a more satisfying texture. Freshness is also key; fresher eggs have firmer whites and fuller yolks, which help prevent a soggy or rubbery omelet.
When it comes to the number of eggs to use, typically, two to three eggs are ideal for a single serving. Too many eggs can result in a thick, overly eggy texture, while too few can lead to a thin, fragile omelet that doesn’t fold properly.
2. Whisking Eggs to Perfection
Whisking the eggs properly is a critical step in achieving a smooth and airy omelet. The goal is to break up the yolks and incorporate air into the mixture. Use a fork or a whisk to beat the eggs until the yolks and whites are fully blended and the mixture is light and slightly frothy. The more air you can incorporate, the fluffier and lighter your omelet will be.
To ensure the eggs are whisked properly, beat them for at least 20 to 30 seconds. The mixture should appear slightly bubbly, and you should not see any streaks of yolk or white. Some chefs recommend adding a small splash of water, milk, or cream to the egg mixture to increase the volume and achieve an even fluffier omelet. However, be cautious not to overdo it—too much liquid can make the eggs too runny.
3. Preparing the Pan
The right pan is crucial for an easy-to-make omelet. A nonstick skillet is typically the best choice, as it ensures the eggs won’t stick, which can be a major obstacle when flipping or folding the omelet. A pan with a diameter of about 8 to 10 inches is perfect for cooking two to three eggs. The pan should also have sloped sides, which make it easier to maneuver the eggs and get them to fold over without breaking.
:max_bytes(150000):strip_icc()/__opt__aboutcom__coeus__resources__content_migration__serious_eats__seriouseats.com__images__2015__05__20150511-scrambled-eggs-vicky-wasik-15-e728911675d54b2090f5acb6fa853299.jpg)
Before you start cooking, make sure the pan is hot but not too hot. A medium-high heat is ideal. To test if the pan is the right temperature, drop a small bit of water onto the surface. If it sizzles and evaporates quickly, the pan is ready. If the water sits or doesn’t evaporate, the pan is too cool.
4. The Right Fat: Butter vs. Oil
The fat you choose to cook your omelet in will affect both the flavor and texture of the final product. Butter is often the fat of choice for omelets, as it provides a rich, creamy flavor and creates a slight golden-brown crust on the outside of the eggs. However, butter burns easily, so it’s important to keep the heat at a medium level.
If you prefer a lighter option or are looking for a neutral taste, vegetable oil, olive oil, or ghee can be used as well. These oils have higher smoke points, making them less likely to burn during cooking. Keep in mind that the type of fat you use will influence the overall flavor of your omelet, so choose one that complements your fillings.
5. The Art of Cooking the Eggs
Once your eggs are whisked and your pan is preheated with your chosen fat, it’s time to cook the eggs. Pour the whisked eggs into the center of the pan. The eggs should immediately start to set around the edges. Using a spatula, gently stir the eggs in small, circular motions, pushing the cooked parts of the eggs from the edges toward the center. This technique helps ensure an even cook and prevents the omelet from becoming overcooked on the bottom.
As the eggs begin to set, tilt the pan slightly and allow any uncooked eggs to flow toward the edges. After about 1 to 2 minutes, the omelet should be mostly set with a slightly runny top. At this point, stop stirring and allow the eggs to cook undisturbed.
6. Adding Fillings and Flavor
The key to making an omelet that stands out is in the fillings. The possibilities are endless: sautéed vegetables, cheeses, herbs, meats, or even fruits. However, it’s important to follow a few guidelines when adding fillings to avoid a soggy or overstuffed omelet.
First, make sure your fillings are pre-cooked. This is especially important for vegetables or meats. Raw vegetables, like mushrooms or spinach, release moisture as they cook, and if added to the omelet without pre-cooking, they can make the eggs soggy. Sauté your vegetables or meats beforehand to evaporate excess moisture and enhance their flavors.

Once the omelet is almost fully set, sprinkle your fillings evenly over one half of the omelet. Don’t overfill it—this can lead to a difficult folding process and may cause the omelet to tear. A light, even layer is the key to a perfectly balanced omelet.
7. Folding the Omelet
The art of folding the omelet is what separates the novices from the pros. After your fillings are added, it’s time to fold the omelet in half. The trick is to do this gently and with confidence. Using a spatula, lift one edge of the omelet and fold it over the fillings, creating a half-moon shape.
For a traditional French-style omelet, you want the fold to be subtle and delicate, with the omelet remaining slightly soft and runny on the inside. If you prefer a more well-done omelet, allow it to cook for another minute or two before serving.
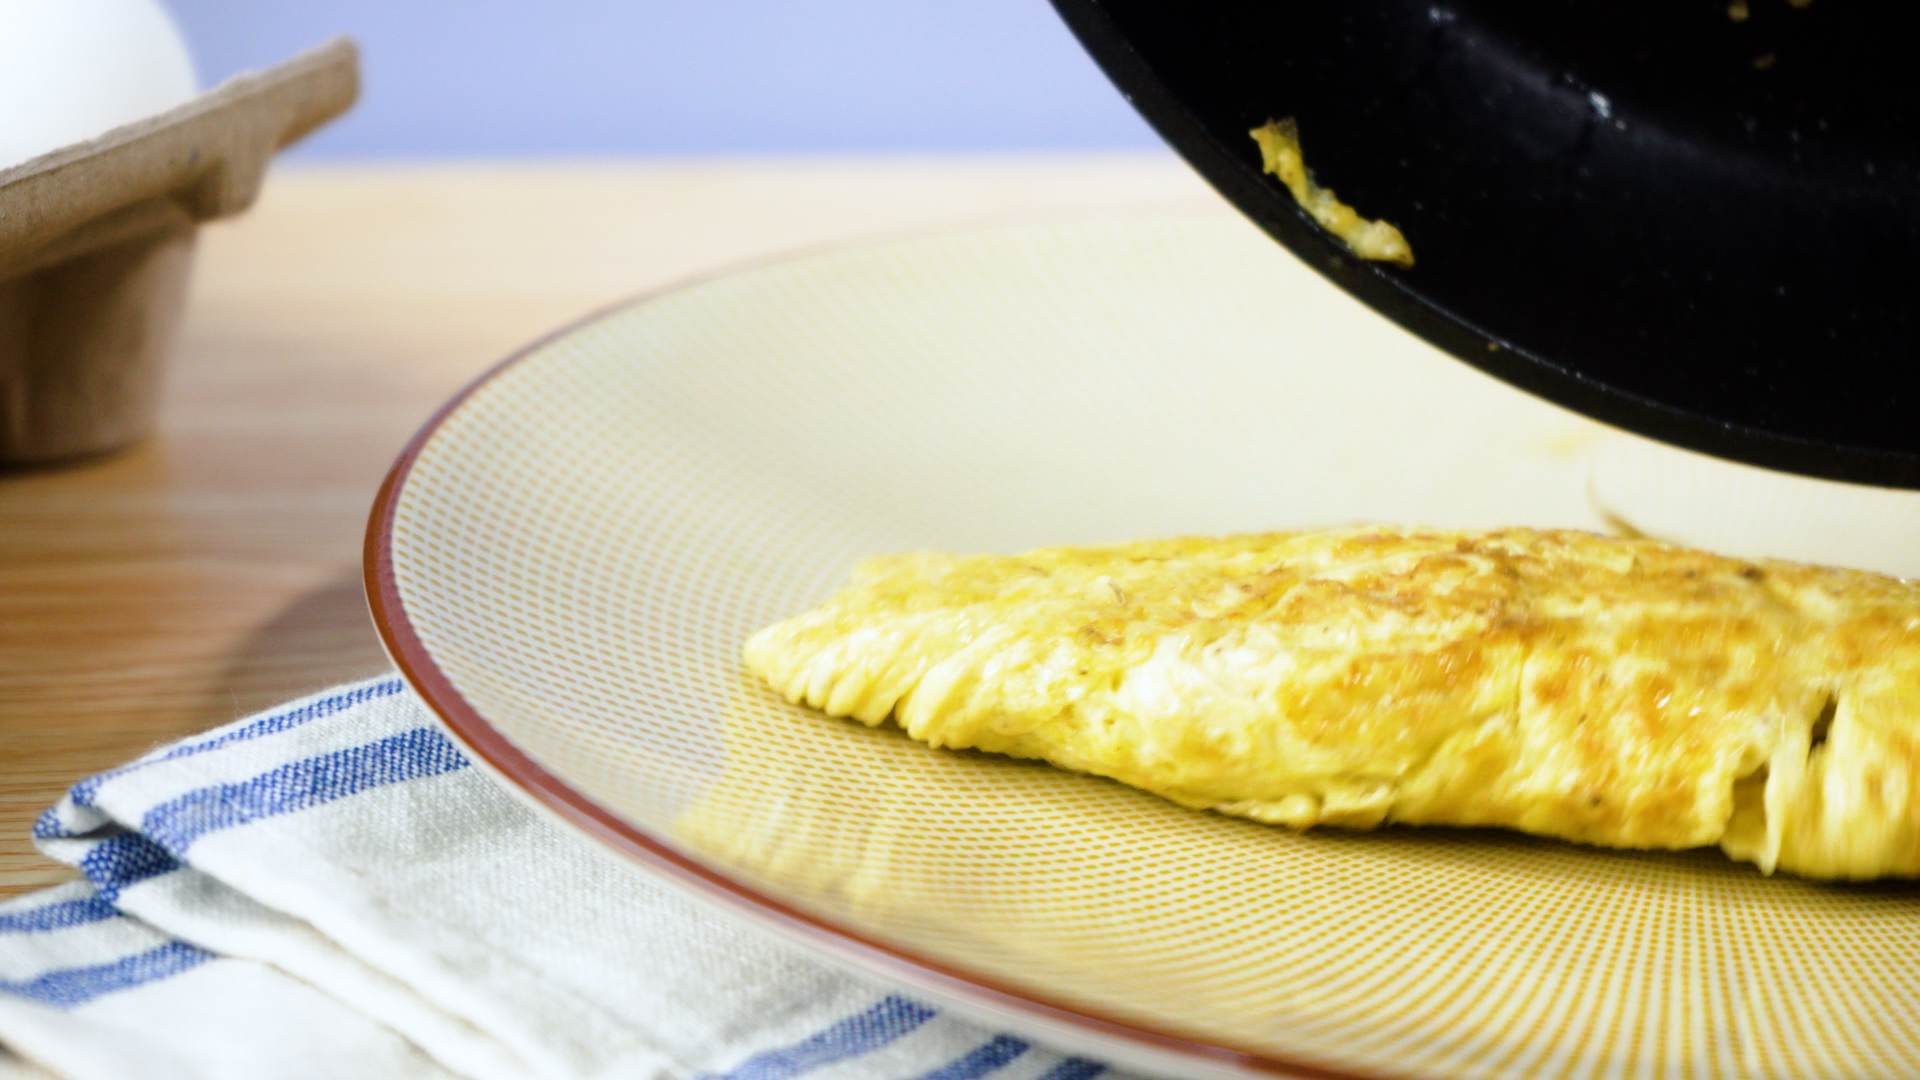
8. Serving Your Omelet
The perfect omelet should have a golden-brown exterior with a slightly soft, creamy interior. To serve, carefully slide the omelet from the pan onto a plate. You can garnish the omelet with fresh herbs, a sprinkle of cheese, or a drizzle of hot sauce, depending on your taste.
If you want to go the extra mile, serve your omelet with a side of crispy potatoes, a mixed greens salad, or some crusty bread. These sides complement the lightness and richness of the omelet without overwhelming its flavor.
9. Common Mistakes to Avoid
Making a perfect omelet isn’t always as easy as it sounds. Here are some common mistakes to avoid:
- Overcooking the Eggs: One of the biggest mistakes is cooking the omelet for too long. Eggs continue to cook after they’re removed from the heat, so it’s important to stop cooking when the omelet is still slightly runny in the center.
- Too Many Fillings: Overstuffing the omelet can make it difficult to fold and cause the omelet to tear. Stick to a light filling, and don’t be afraid to experiment with different combinations of ingredients.
- Using the Wrong Pan: A pan that’s too small will result in a thick omelet, while a pan that’s too large will cause the eggs to spread out too thinly. Choose the right pan size for the number of eggs you’re using.
- Not Pre-cooking Fillings: Raw vegetables or meats can release moisture, which will affect the texture of the omelet. Always sauté fillings before adding them to the eggs.
- Too Much Heat: Cooking at too high a heat can cause the eggs to cook too quickly on the outside, leaving them raw inside. Medium to medium-low heat is usually the best choice.
10. Conclusion
Making the perfect omelet is all about practice, attention to detail, and the right techniques. From selecting fresh, high-quality eggs to carefully controlling the cooking process, every step plays a crucial role in creating a flawless omelet. Whether you prefer a simple cheese omelet or one loaded with vegetables and herbs, mastering the art of omelet-making will elevate your cooking skills and impress your guests.
With the tips and techniques shared here, you’re well on your way to crafting an omelet that is as beautiful as it is delicious. So, next time you’re in the kitchen, take your time, embrace the process, and enjoy the satisfying experience of making a perfect omelet every time.
