
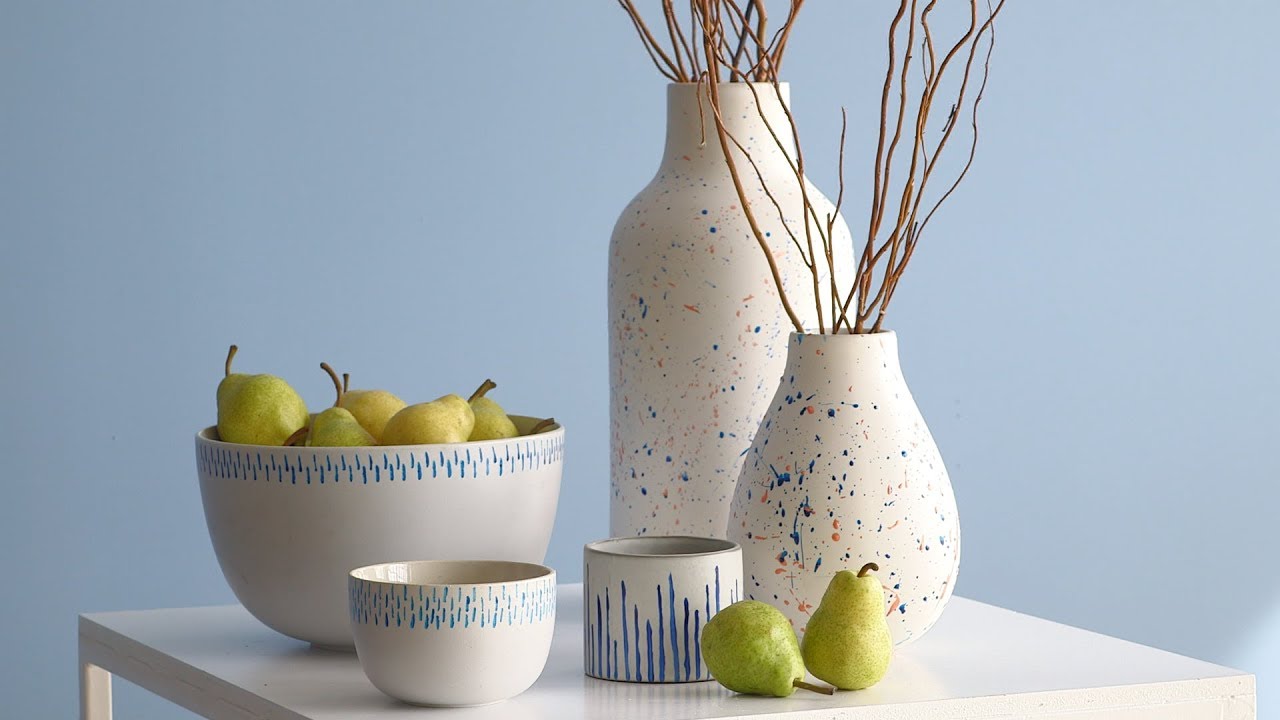
Ceramic mugs are a staple of modern kitchens, cafés, and gift shops. Their simple yet timeless appeal makes them both functional and artistic pieces. Hand-painting adds a unique, personalized touch, transforming each mug into a piece of art that is both beautiful and practical. But what’s the secret to creating that perfect hand-painted ceramic mug? From the type of paint to the techniques used, every detail contributes to the final result. In this article, we will explore the secrets behind perfecting hand-painted ceramic mugs, delving into the essential steps, tips, and tricks that will help you create stunning, durable designs.
1. Choosing the Right Ceramic Mug
Before you even think about picking up a paintbrush, the foundation of your work—your ceramic mug—is the first and most important decision. The quality of the mug itself will impact your painting experience and the final result.
Material Matters
The best ceramic mugs for hand painting are made from high-quality porcelain or stoneware. Porcelain is smoother, providing a clean canvas for intricate designs, while stoneware has a slightly rougher surface, giving a more rustic, textured look. Both materials are durable and hold paint well, but they require different approaches in terms of priming and paint types.
Shape and Size
The shape of the mug is crucial when considering your design. A straight-sided mug may be easier to paint, especially for beginners, while curved mugs or unusual shapes can add a unique challenge. When selecting a mug, consider how the design will flow on the surface and whether the shape complements the design you want to create.
2. Preparing the Mug for Painting
Preparation is key to achieving long-lasting, vibrant results. Before you start painting, make sure to properly prep your mug.
Cleaning
Ensure the ceramic surface is completely clean and free from any oils, dust, or residue that could interfere with the paint. You can wash the mug with warm water and mild soap, then wipe it down with a lint-free cloth to remove any remaining particles.
Sanding (Optional)
If your mug has a glossy finish or if you’re using a very smooth porcelain mug, light sanding can help the paint adhere better. Sanding lightly with fine-grit sandpaper will roughen the surface just enough for the paint to grip effectively.
Priming
Some ceramic paints require a primer to help the paint adhere. If you’re using an acrylic paint specifically designed for ceramics, priming may not be necessary. However, for added durability, applying a coat of primer will provide an excellent base for your paint.
3. Choosing the Right Paint
The type of paint you use plays a huge role in the final result. There are a variety of ceramic paints available, each with its unique properties. Let’s break down the main options:
Acrylic Paint
Acrylic paint is a popular choice for hand-painted ceramics because it is versatile, easy to use, and dries quickly. When used on ceramics, it usually requires a heat-setting process to make it permanent. Acrylics are ideal for bold colors and detailed designs, but it’s important to choose an acrylic that’s specifically labeled for ceramics. This ensures that the paint will bond properly to the surface and be resistant to washing.
Enamel Paint
Enamel paints are designed for ceramics and other surfaces, making them a great option for mugs. They provide a glossy, durable finish that is resistant to wear and washing. Enamel paints require baking at a high temperature to set, making them ideal for mugs that will be used regularly.
Porcelain Paints
Porcelain paints are specifically formulated for use on ceramic mugs and other porcelain items. These paints are typically fired in a kiln to cure them properly, making them highly resistant to fading and washing.
Markers and Pens
For more intricate designs, ceramic markers or paint pens are a great choice. They offer precision and are perfect for fine line work, lettering, and small details. Many ceramic markers are water-based and can be baked to set the paint, providing a smooth and durable finish.
4. Painting Techniques
Now that you’ve selected your materials, it’s time to bring your design to life. Hand painting is an art form that requires patience and practice, but there are a few essential techniques that can elevate your work.
Base Coats
Start with a base coat to create a smooth background for your design. This step helps to even out the surface of the mug and provides a clean canvas for more intricate details. You can use a solid color or a gradient of colors, depending on your desired outcome.
Layering Colors
When applying paint, build up colors in layers rather than trying to cover the entire surface in one go. Layering helps to achieve depth and allows the colors to blend more smoothly. Be sure to let each layer dry before applying the next to prevent smudging.
Stencils and Transfers
Using stencils or transfers can help add precision to your design, especially if you want a geometric or repeated pattern. These tools allow for clean, crisp lines and can save time when working on more intricate designs. For a more organic look, freehand painting is always a great choice.
Brush Techniques
Brushwork is crucial in creating the right texture for your design. A fine-tipped brush is perfect for details and outlines, while a larger brush is ideal for filling in larger areas. Experiment with different brush strokes to create texture, such as dry brushing for a weathered look or stippling for a more textured finish.
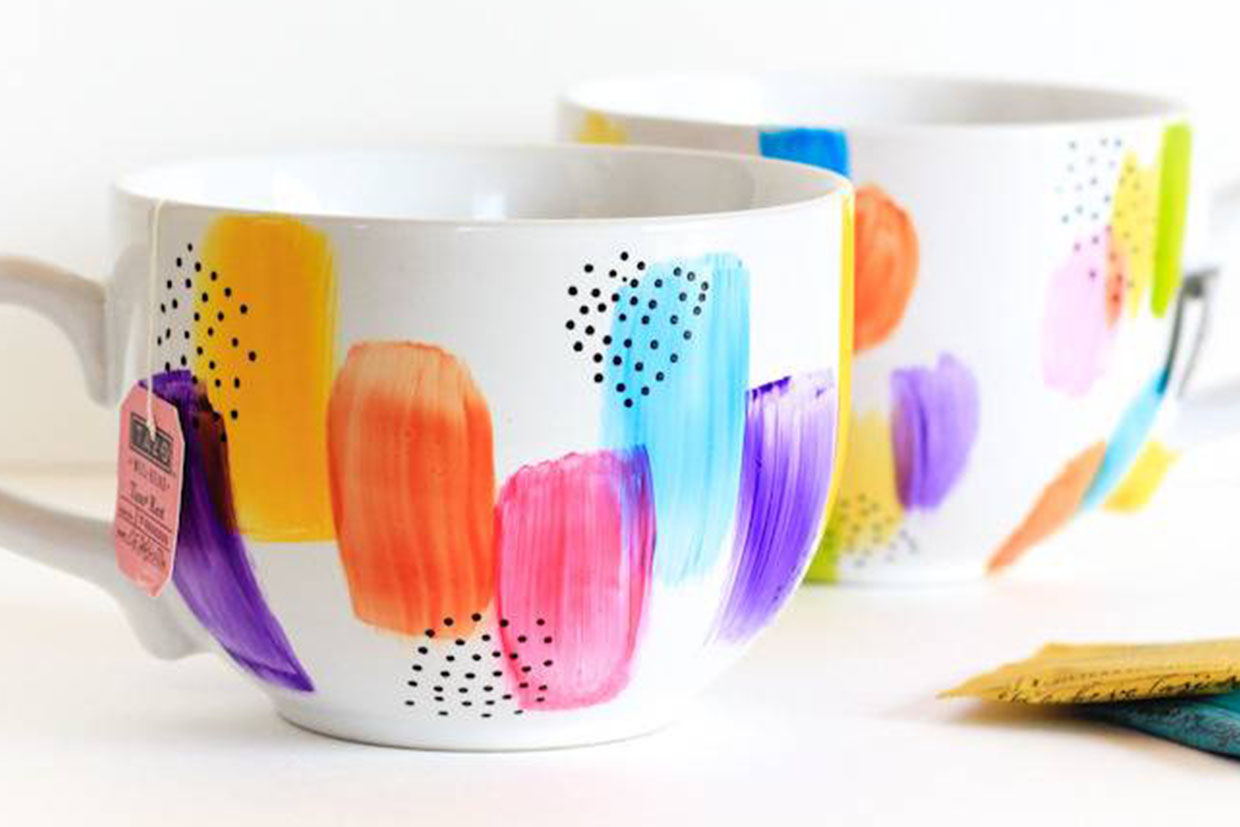
Dot Painting
Dot painting is a technique where you apply small dots of paint in patterns or designs. This technique works especially well for creating mandala-like designs or creating vibrant patterns that have a bit of a folk art flair.
Adding Metallics and Special Effects
To add a touch of luxury, metallic paints or gold leaf can be used to accentuate certain parts of your design. Metallics work well with floral patterns, lettering, or abstract art. Additionally, using shimmer paints or incorporating raised patterns with paint can make your design pop.
5. Drying and Setting the Paint
After applying your paint, you’ll need to let it dry. Most ceramic paints dry relatively quickly, but the drying time can vary depending on the type of paint used. Be sure to allow your design to dry completely before handling or adding another layer of paint.
Heat Setting
To ensure the paint is set and won’t wash away, many ceramic paints require a heat-setting process. This involves placing your painted mug in an oven and heating it to a specified temperature (usually around 350°F or 175°C) for 30 minutes to 1 hour. Follow the manufacturer’s instructions for the best results.
Kiln Firing
If you’ve used porcelain paints or other specialized ceramics, you may need to fire your mug in a kiln. This process allows the paint to bond permanently to the ceramic surface, making it resistant to chipping, fading, and washing. Kiln firing also gives the colors a smooth, glossy finish that enhances their vibrancy.
6. Finishing Touches
Once your paint has dried and set, it’s time to give your mug that final polished look. You can add a layer of clear glaze or sealer to protect the paint and give your design a glossy finish. This is especially important if the mug will be used for hot beverages, as the glaze will protect the paint from heat and wear.
Sealing
Sealing is an optional step, but it can help preserve your hand-painted design for years to come. There are different types of sealers, such as spray-on or brush-on coatings. Be sure to choose a non-toxic sealer that is safe for food-contact surfaces.
Checking for Imperfections
Before using your mug, carefully inspect it for any imperfections, such as smudges, scratches, or uneven areas. If necessary, touch up these spots with more paint, and allow the mug to dry again before using.
7. Caring for Hand-Painted Ceramic Mugs
While hand-painted ceramic mugs are beautiful, they do require some extra care to ensure they remain in top condition. Here are a few tips:
- Avoid Abrasive Cleaning: Hand-painted mugs should be cleaned gently by hand, avoiding abrasive sponges that can scratch the paint. Use a soft cloth or a sponge with mild soap and water.
- No Microwave: If you’ve used paints that require heat setting, avoid microwaving your mug, as extreme heat may cause the paint to crack or fade over time.
- Dishwasher Use: If your mug is not sealed or baked properly, it may not be dishwasher safe. Always check the instructions for your specific type of paint before placing it in the dishwasher.
8. The Art of Personalization
One of the most popular aspects of hand-painted ceramic mugs is their ability to be personalized. Whether you’re designing a mug as a gift or for yourself, adding a personal touch makes each piece truly unique.
Names and Initials
Adding names, initials, or special messages is a simple way to personalize a mug. For more intricate designs, consider incorporating your handwriting or using a calligraphy font for a sophisticated look.
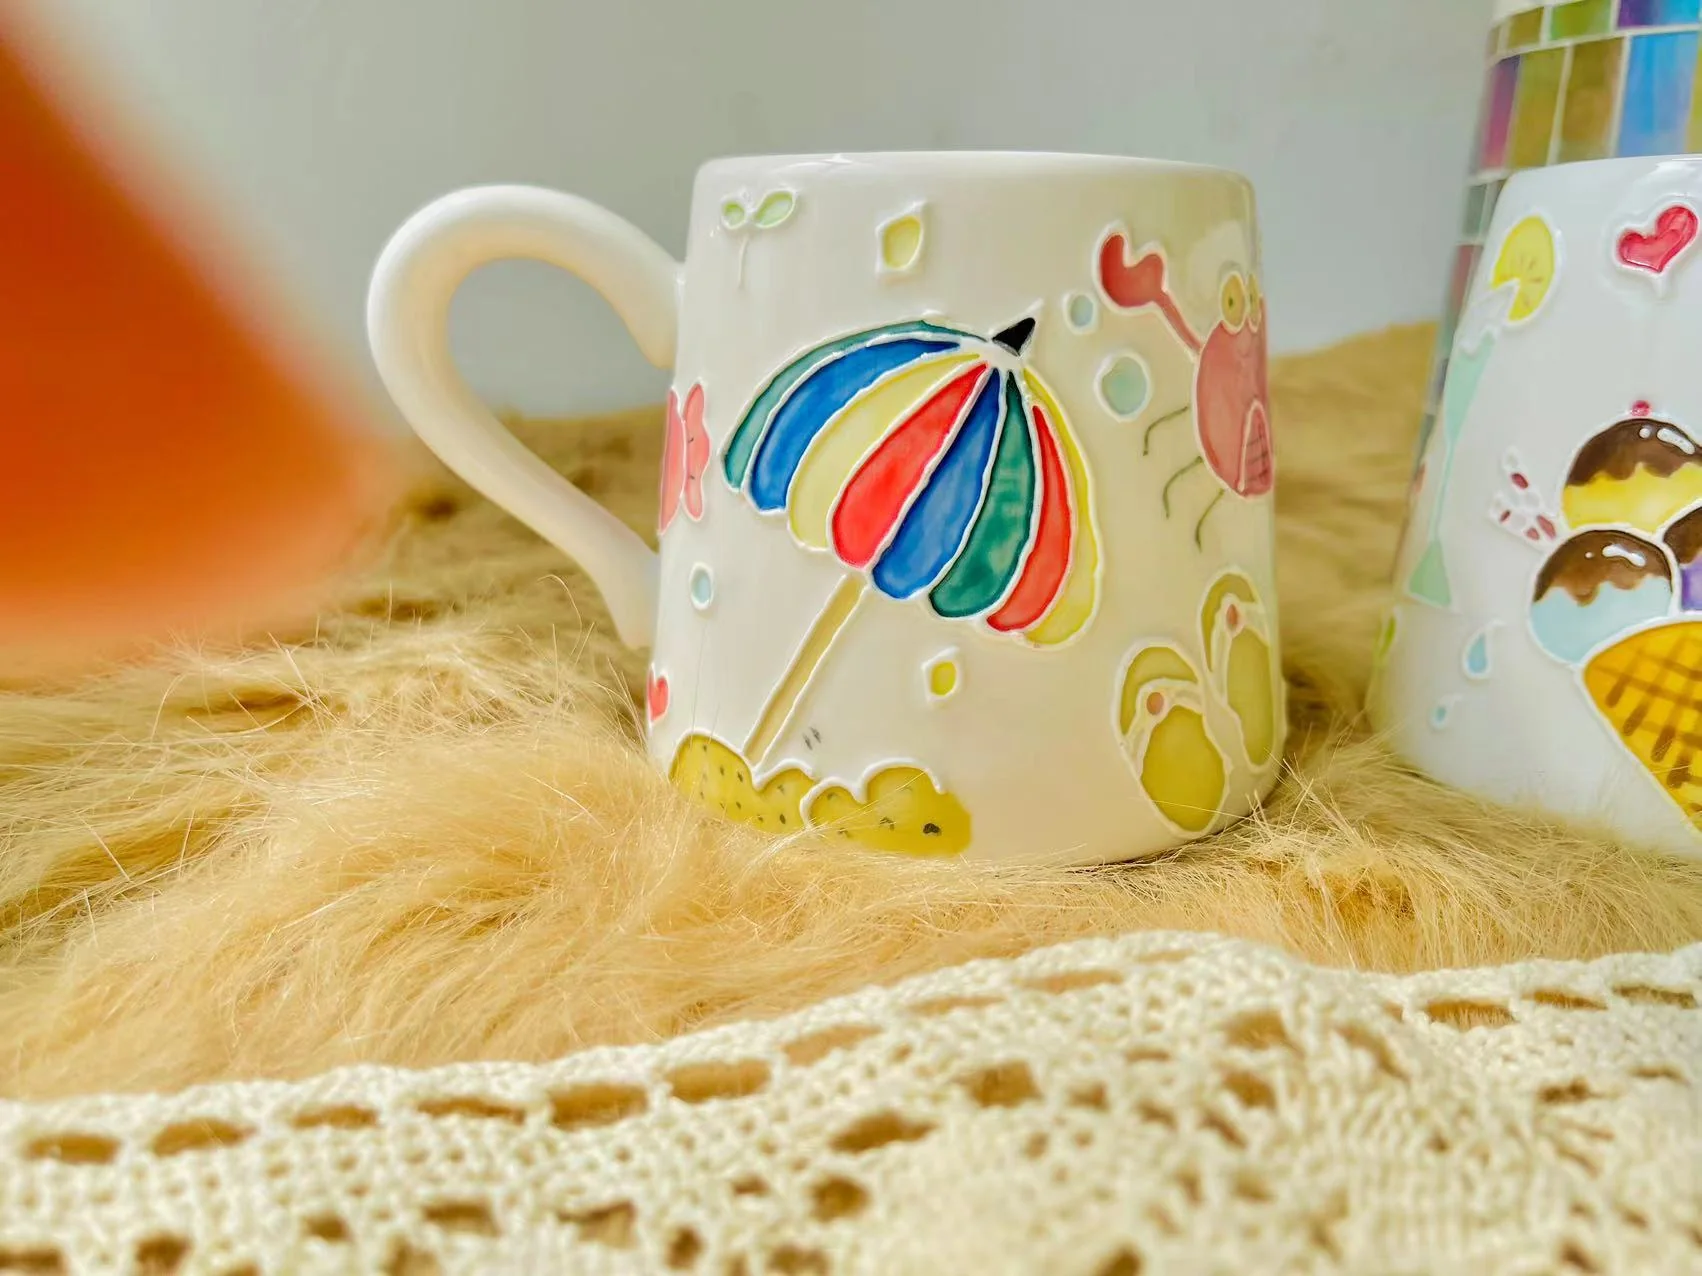
Custom Illustrations
Custom illustrations or portraits are a fantastic way to make a mug truly one-of-a-kind. This could range from a simple flower to a detailed animal or abstract design, depending on your artistic style and skill level.
Themed Mugs
Consider creating mugs based on specific themes, such as seasonal holidays, hobbies, or interests. A Christmas mug with festive designs or a mug featuring your favorite animal is a thoughtful and personalized gift.
9. Conclusion
Creating the perfect hand-painted ceramic mug is a process that requires patience, skill, and an eye for detail. By carefully selecting your materials, mastering painting techniques, and taking the time to properly set your paint, you can produce stunning, one-of-a-kind pieces that stand the test of time. Whether you’re creating mugs for yourself, as gifts, or to sell, the process can be both rewarding and fulfilling. And with the right care and attention, your hand-painted mugs will be as functional as they are beautiful.
